Hey everybody, welcome to The Manmade Wedding segment. I hope all of you are keeping warm with your hot buttered rums, and are as excited about this week's segment as I am.
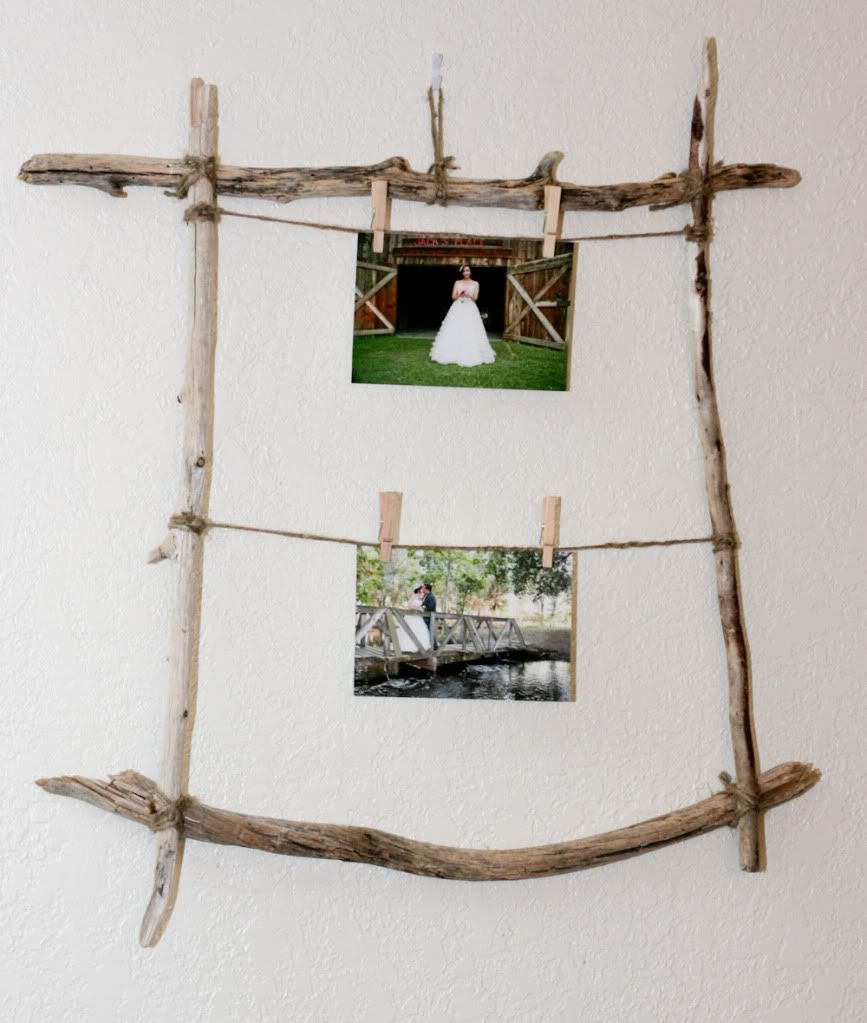
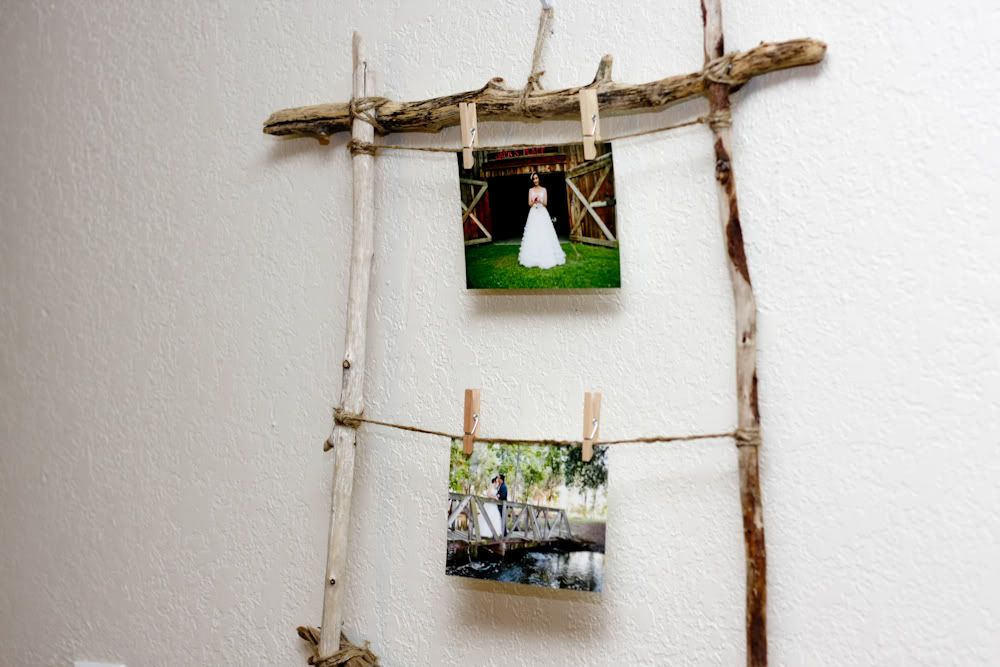
This week we are going to create a driftwood frame. This makes a great decoration piece at a rustic or barn wedding or even a handmade gift for your other half. It's low cost, quick and great looking.
Part of my goal when building stuff is to use fairly accessible tools and materials. I know not everyone has a drill in the garage, or even a garage. So I made sure to keep it basic, but without sacrificing a tremendous result.
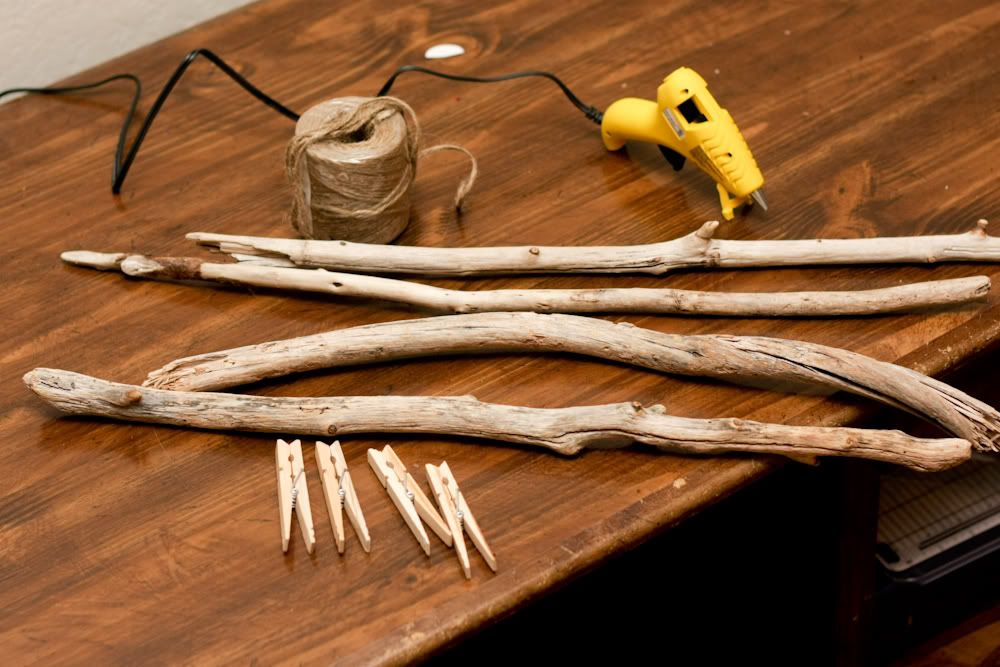
The materials you'll need:
Four pieces of round driftwood as equal in length as you can find. (These are branches that have spent time in the lake, river, ocean or what have you.)
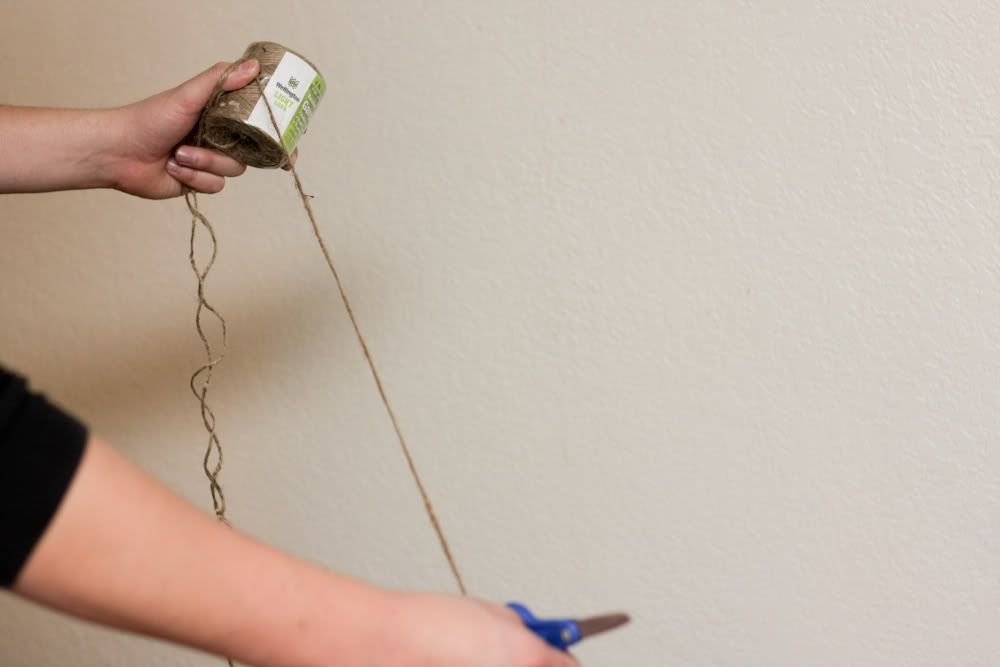
Gardening twine
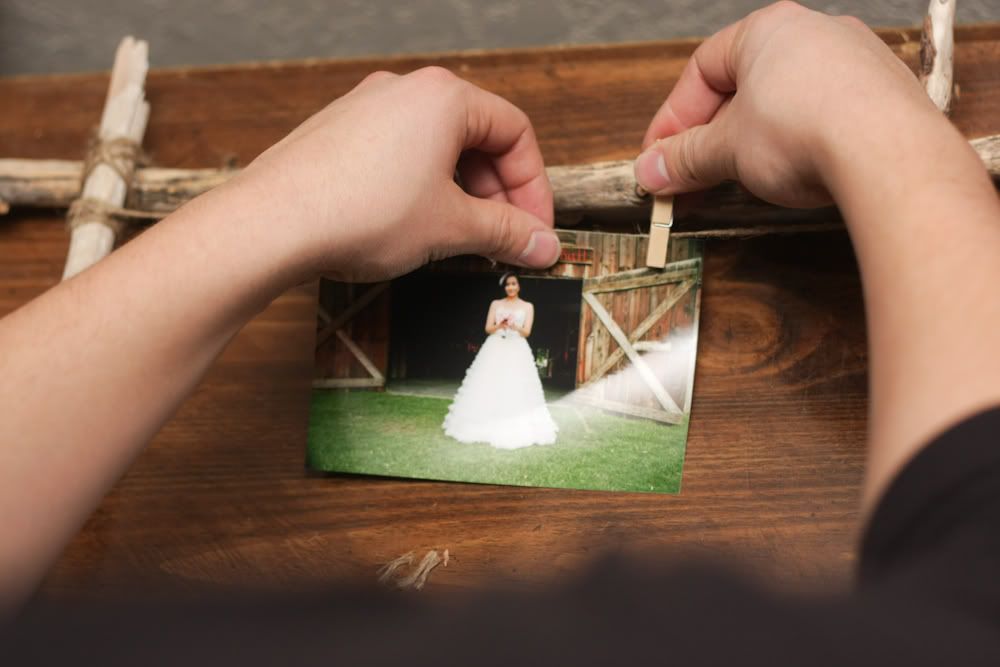
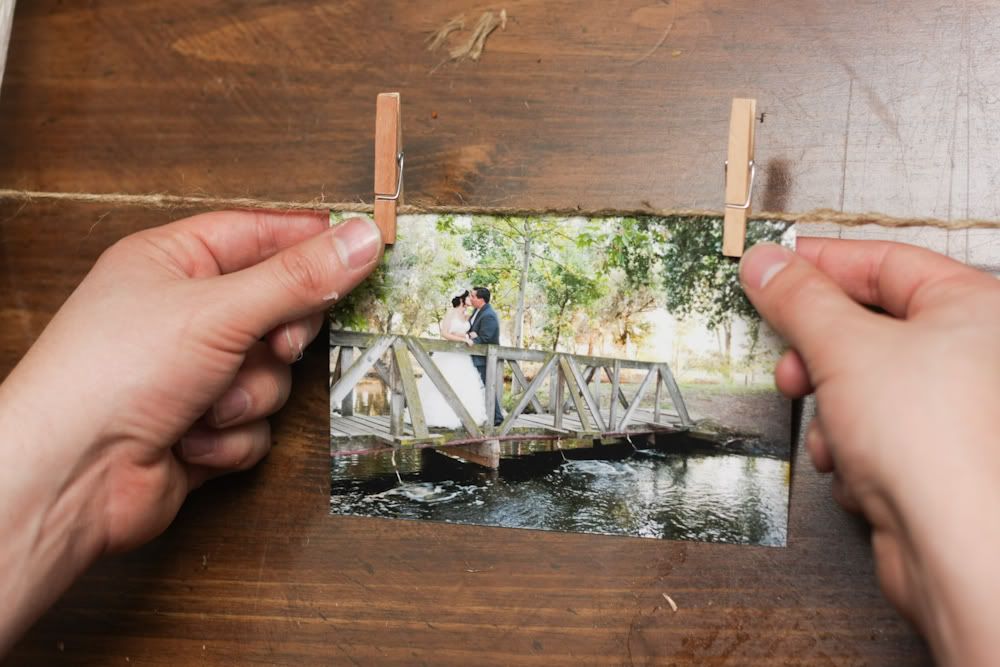
Clothesline clips
A Pair of Scissors
Photos
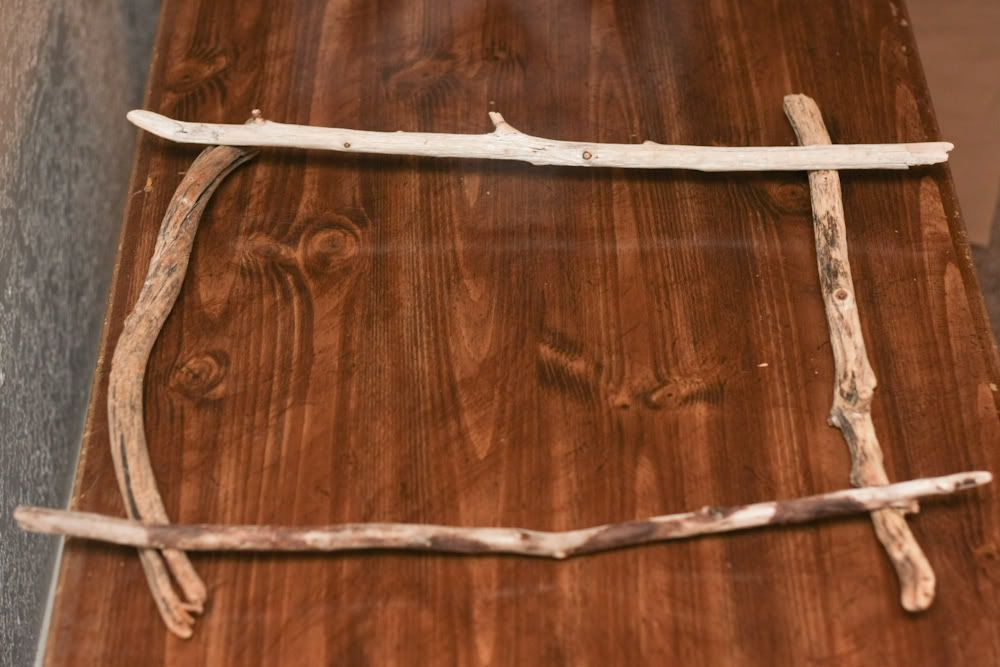
When picking driftwood, be sure to find pieces that are going to fit the dimensions you are thinking. If you want a rectangle, find two of the same length, then find another two that are the same length, but longer/shorter than the other two. In the end, you're going to let the wood speak for itself when you hang it though.
Directions:
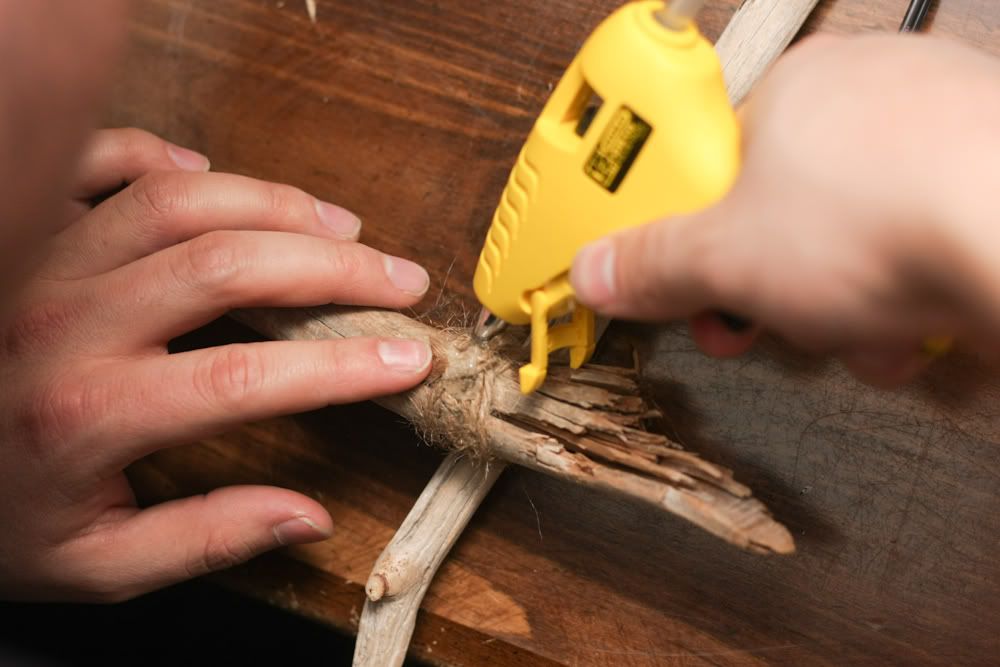
Step 1:
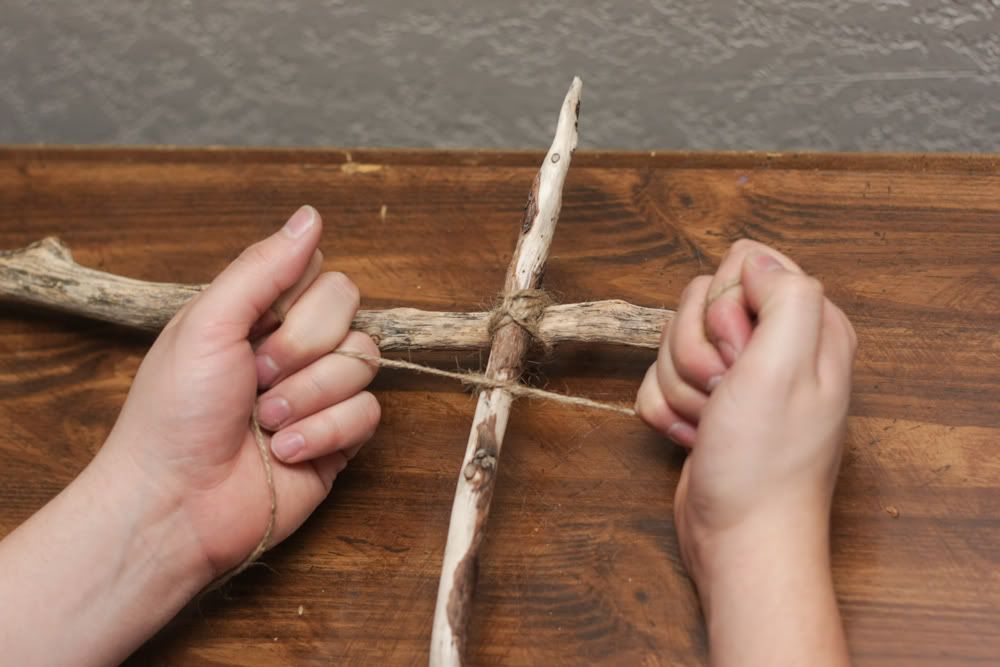
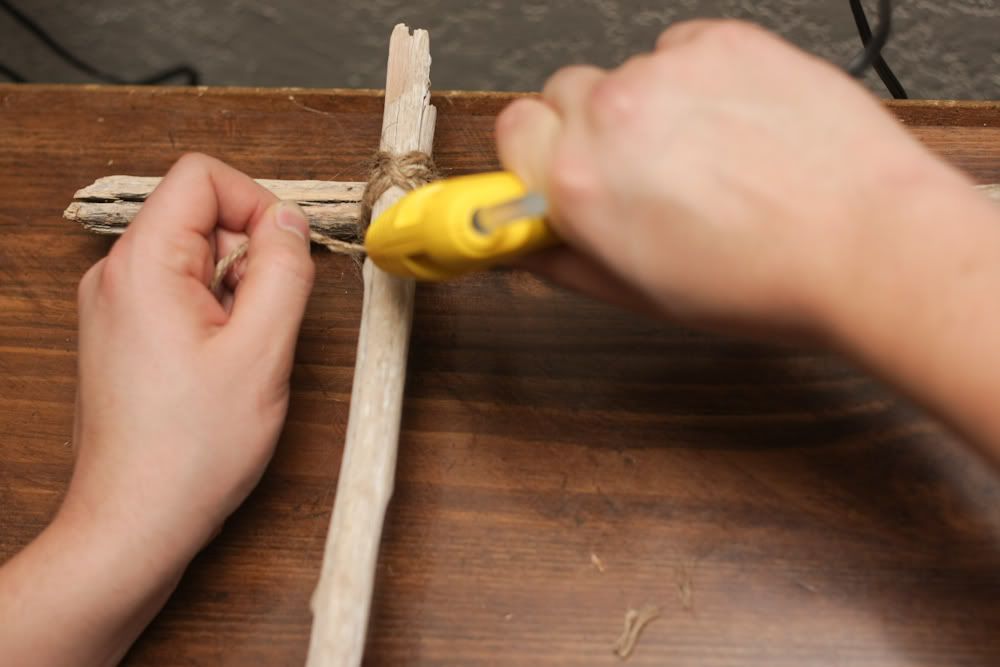
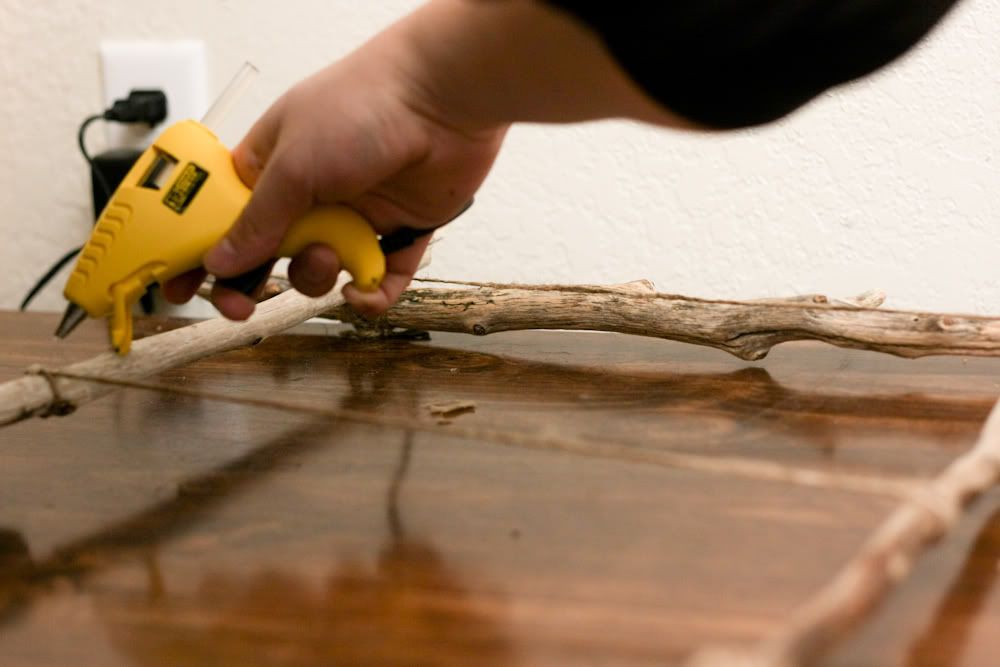
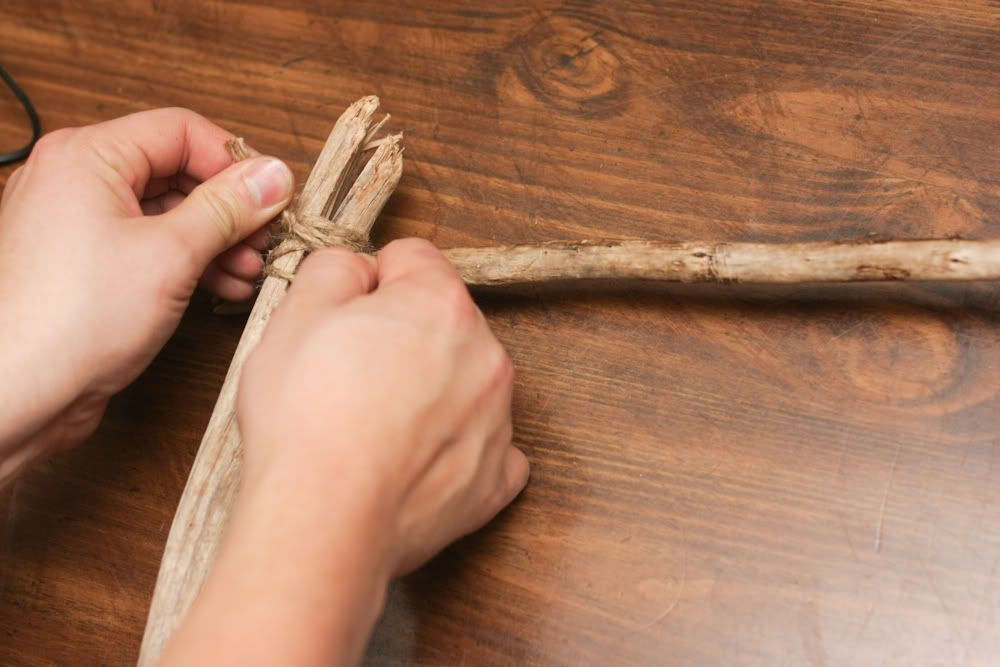
Lay out your driftwood pieces on a table in the shape they will end up in. Again, let the wood do it's thing and sit naturally. In the end, it's gorgeous wood already and will look good no matter the arrangement. Now start hot-gluing the pieces of wood together in the corners. It can be a little sloppy, but the hot glue is easy to clean up.
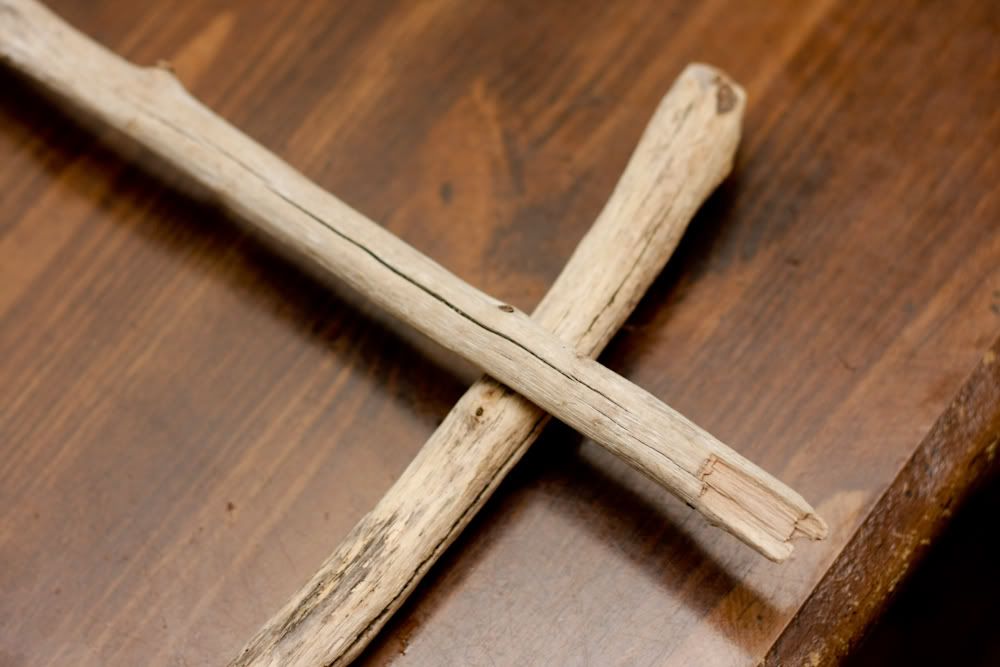
Step 2:
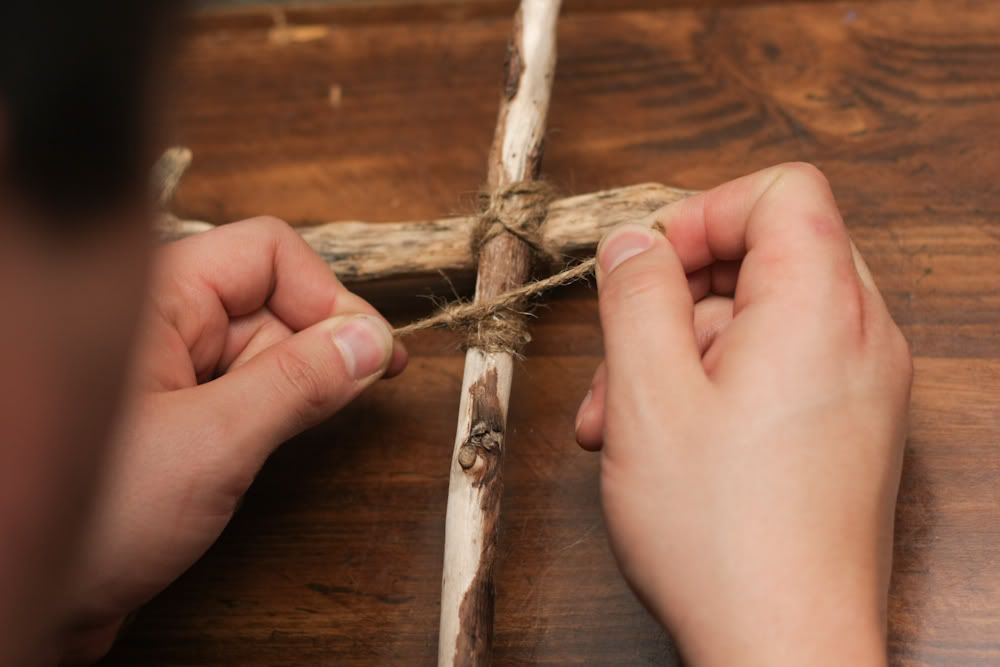
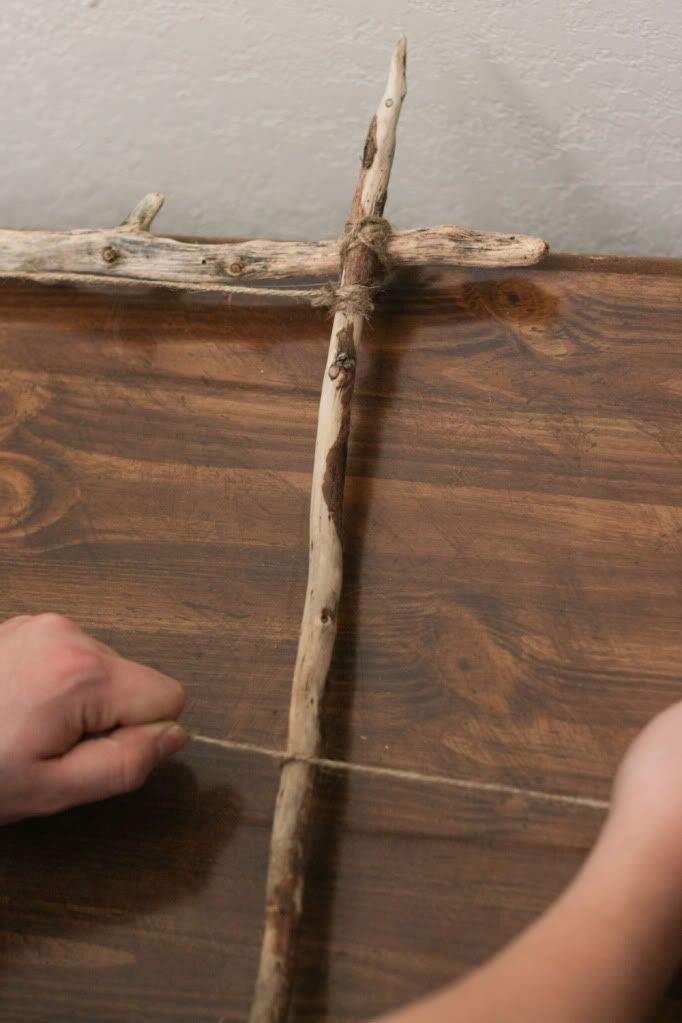
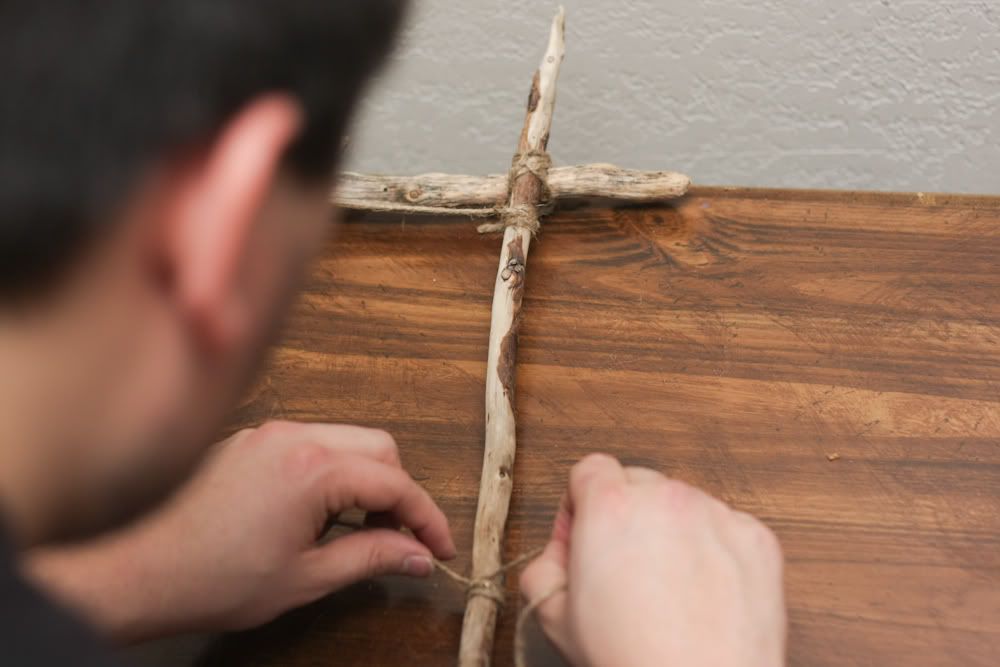
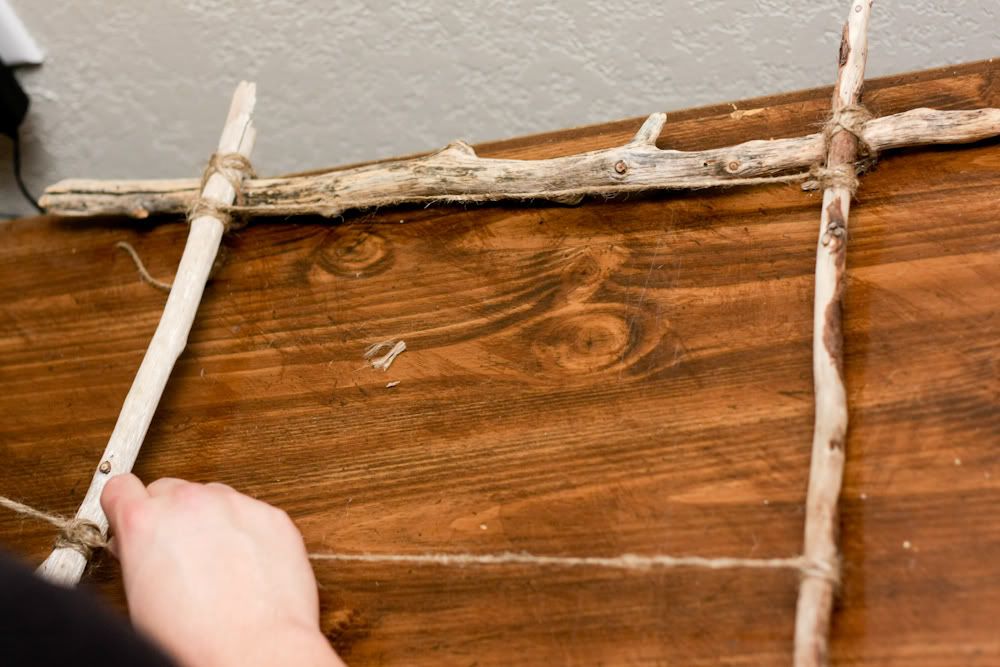
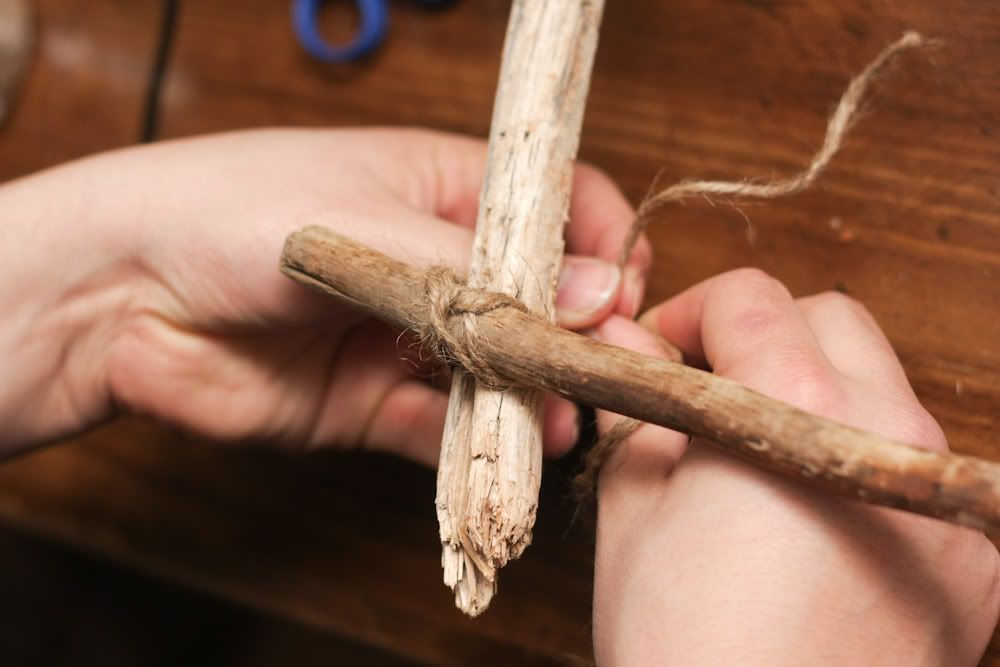
Once you got all sides glued and dried, you're going to wrap twine around the corners to cover the glue. You don't need too much, maybe a bit over a foot or so. It really depends on the thickness of your branches. Then you wrap, twist, wrap. That will give you an "X" on the corners. Repeat this step until you've wrapped all four corners.
Step 3:
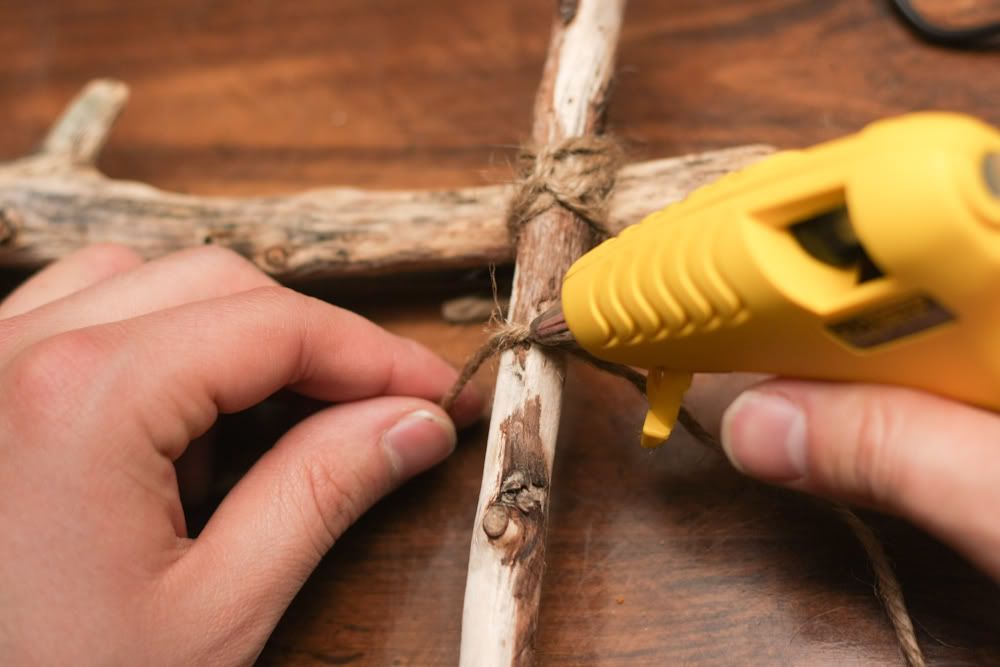
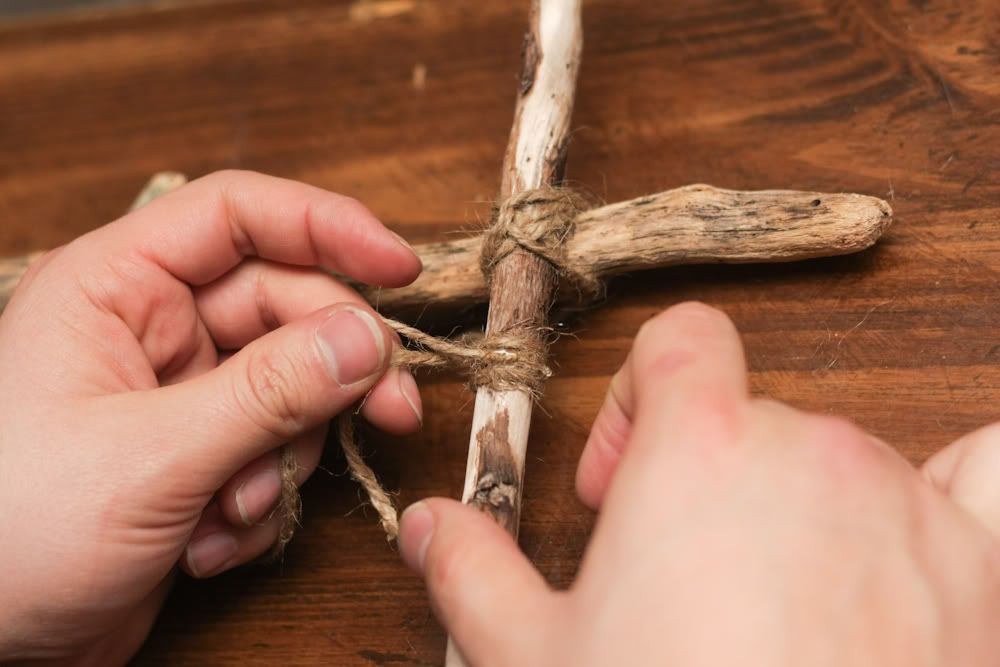
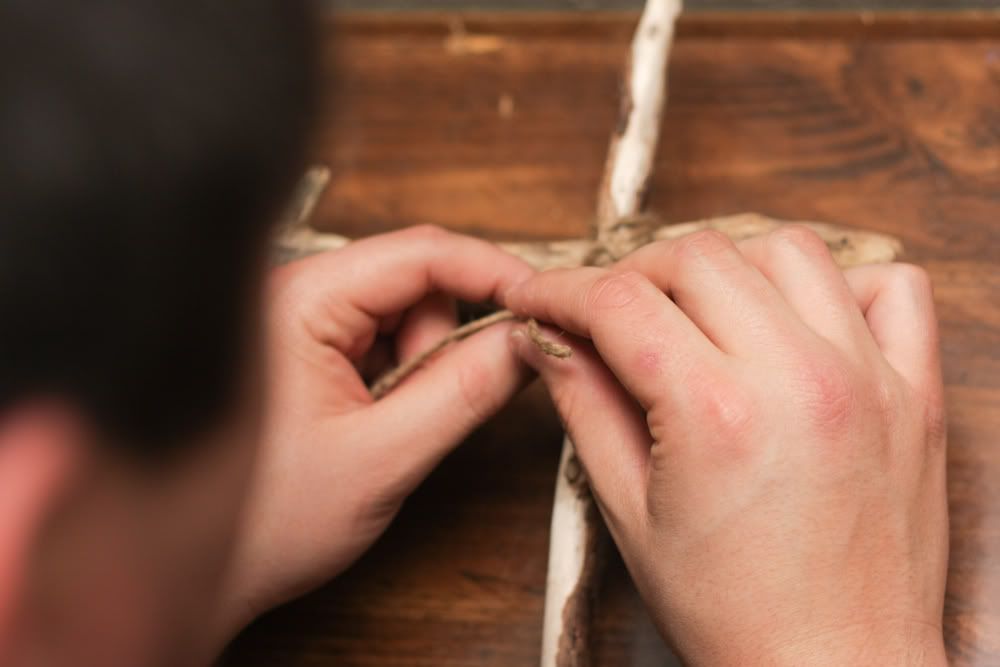
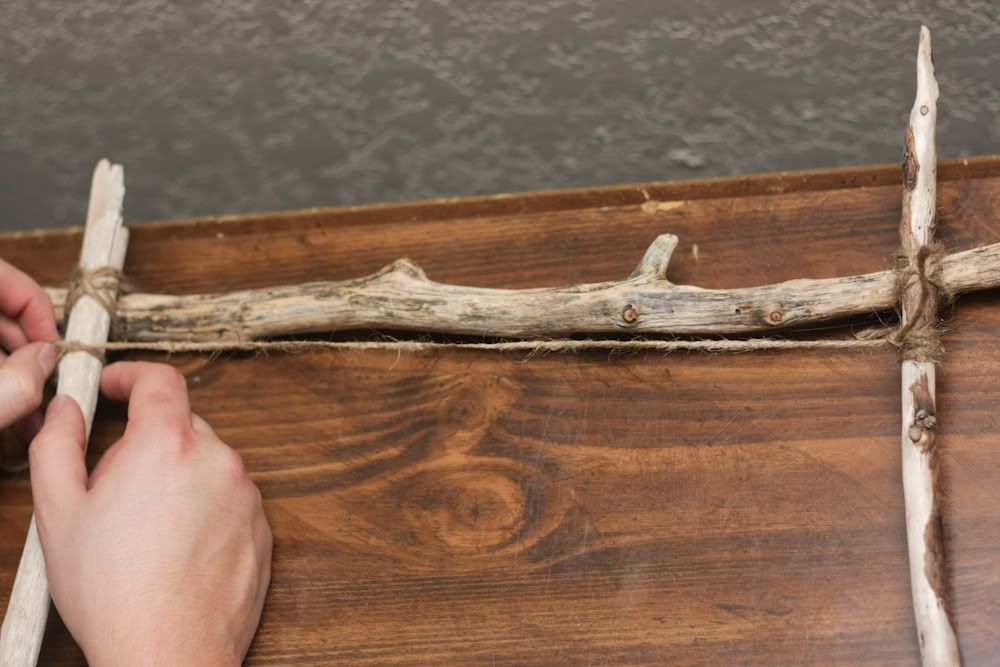
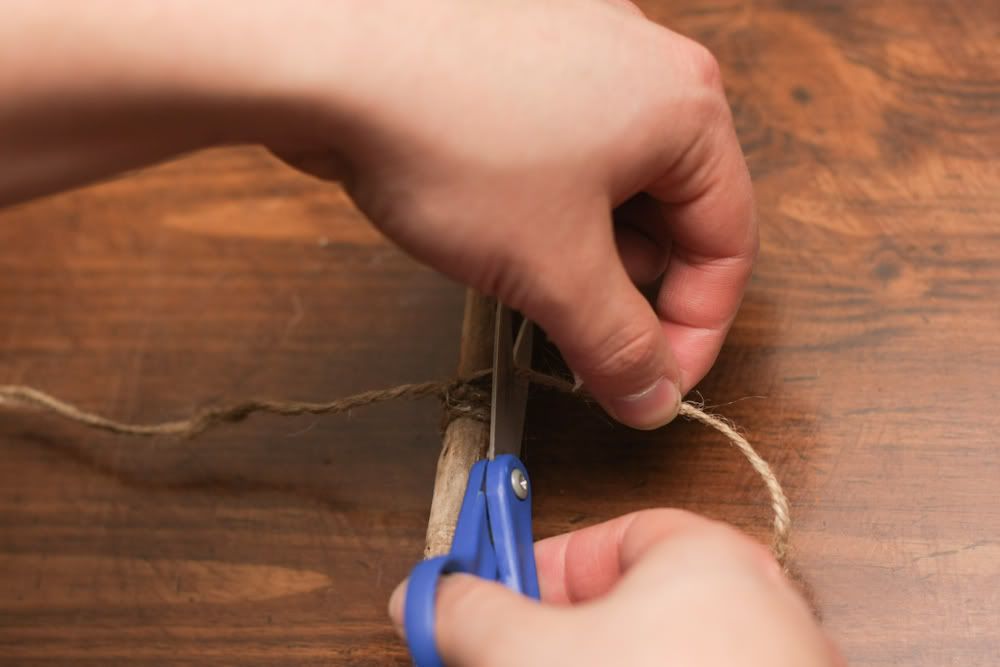
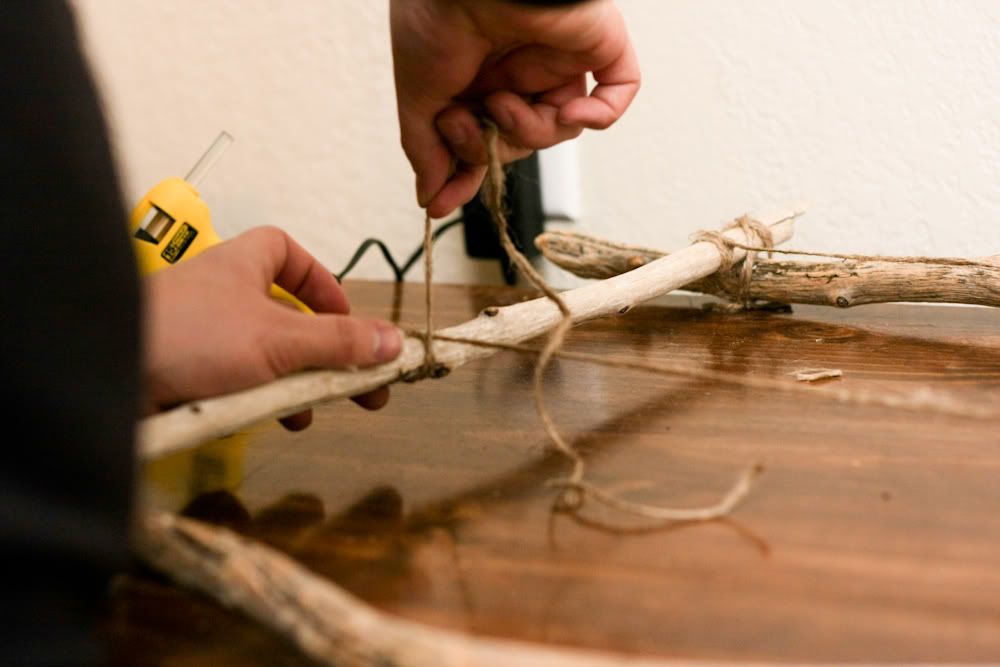
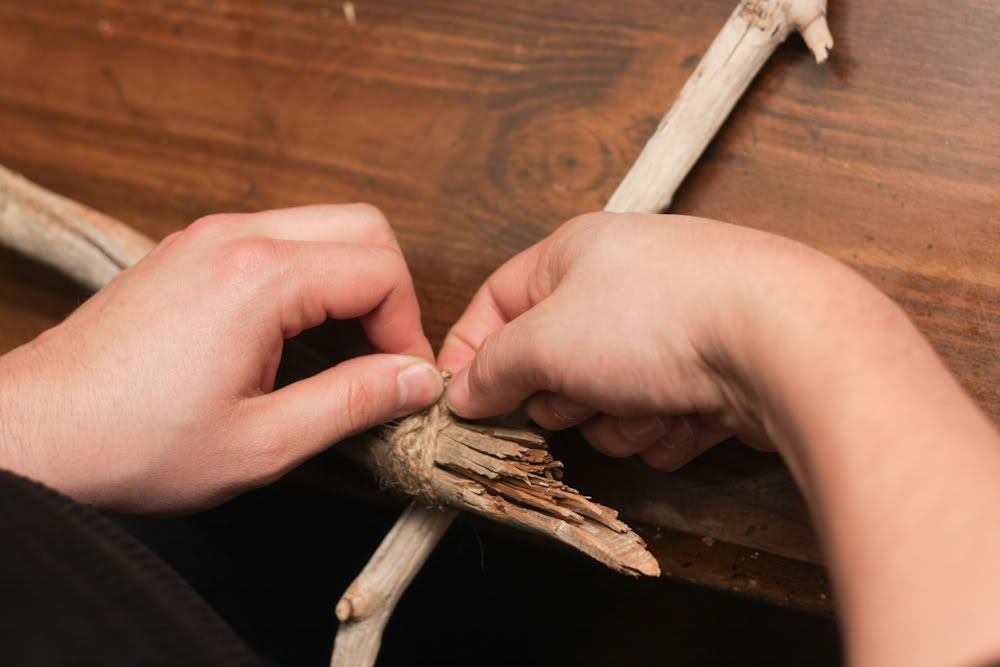
You are now past the halfway point, and in the home stretch. We're going to attach the piece of twine that will stretch from one branch to its counterpart and hold your photo. With twine still on the roll, do one wrap around one branch and tie the first part of a knot. Just under once. Then squeeze a bit of hot glue on top and make sure it touches the branch. Then do two loops on either side of the original loop to cover the glue on each side. Tie it off and cut off any extra. Now do the same at the other side, cutting the string from the roll this time. Just make sure it's long enough to wrap a few times.
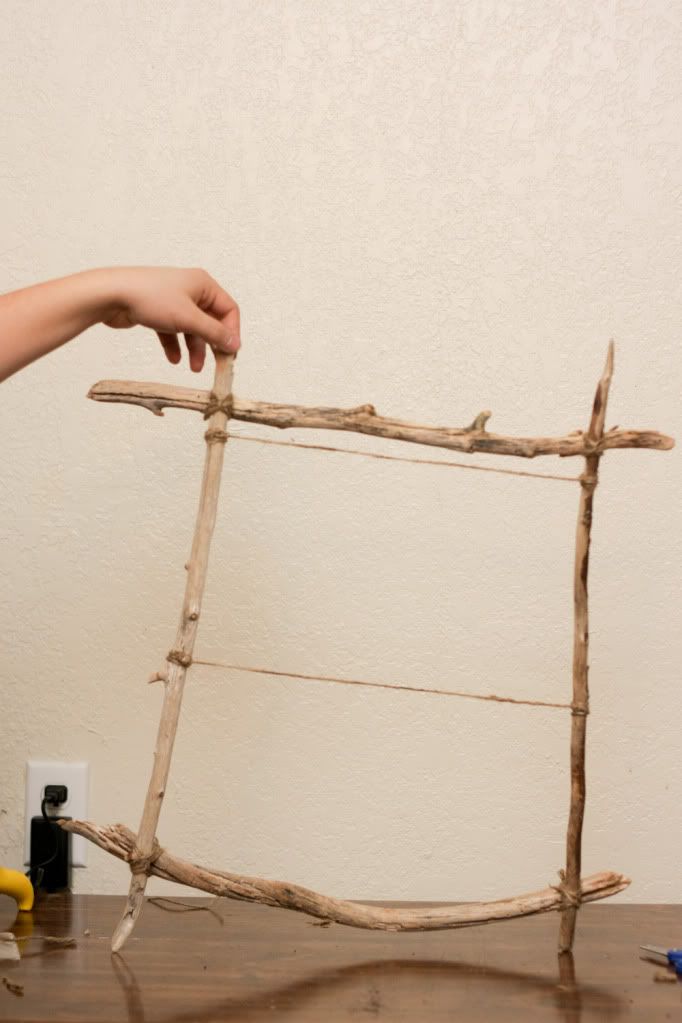
Repeat as many times, for as many rows of photos you would like. If you make a bigger frame than me, you can put a vertical string and separate it even more. There is a lot of variations on this that you can do to fit your style.
Well, that's all there is to it. Construction time is about half an hour, and cost is about $2 if you already have a hot glue gun and around $10 if you don't.
I hope you enjoy it. Be sure to share your creations with us!
Step 1:

Step 2:
Step 3: