They can act like wedding favors and escort cards, too, which make them even more awesome!
Like em'? See more wedding favor ideas on our Pinterest!

Photography: Annie McElwain Photography, Coordination, Design + Florals: Bash, Please


|
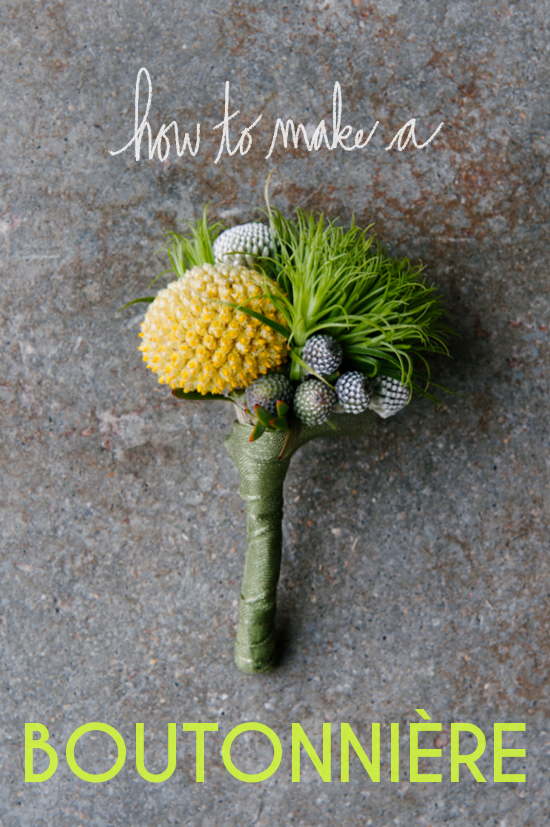
I love this wonderful DIY tutorial by Maddie Eisenhart, Managing Editor at A Practical Wedding, that teaches you how to make a boutonnière!
Click the image to the left to view the entire tutorial. Combine the tutorial with this wedding flower guide from BHLDN and have all you need to make boutonnières for your entire grooms side of the bridal party. |
One of the things that readers are most interested in are DIY projects that they can use for their wedding. That's why I took a few days off of blogging to work on a brand new section of The Handmade Wedding blog!
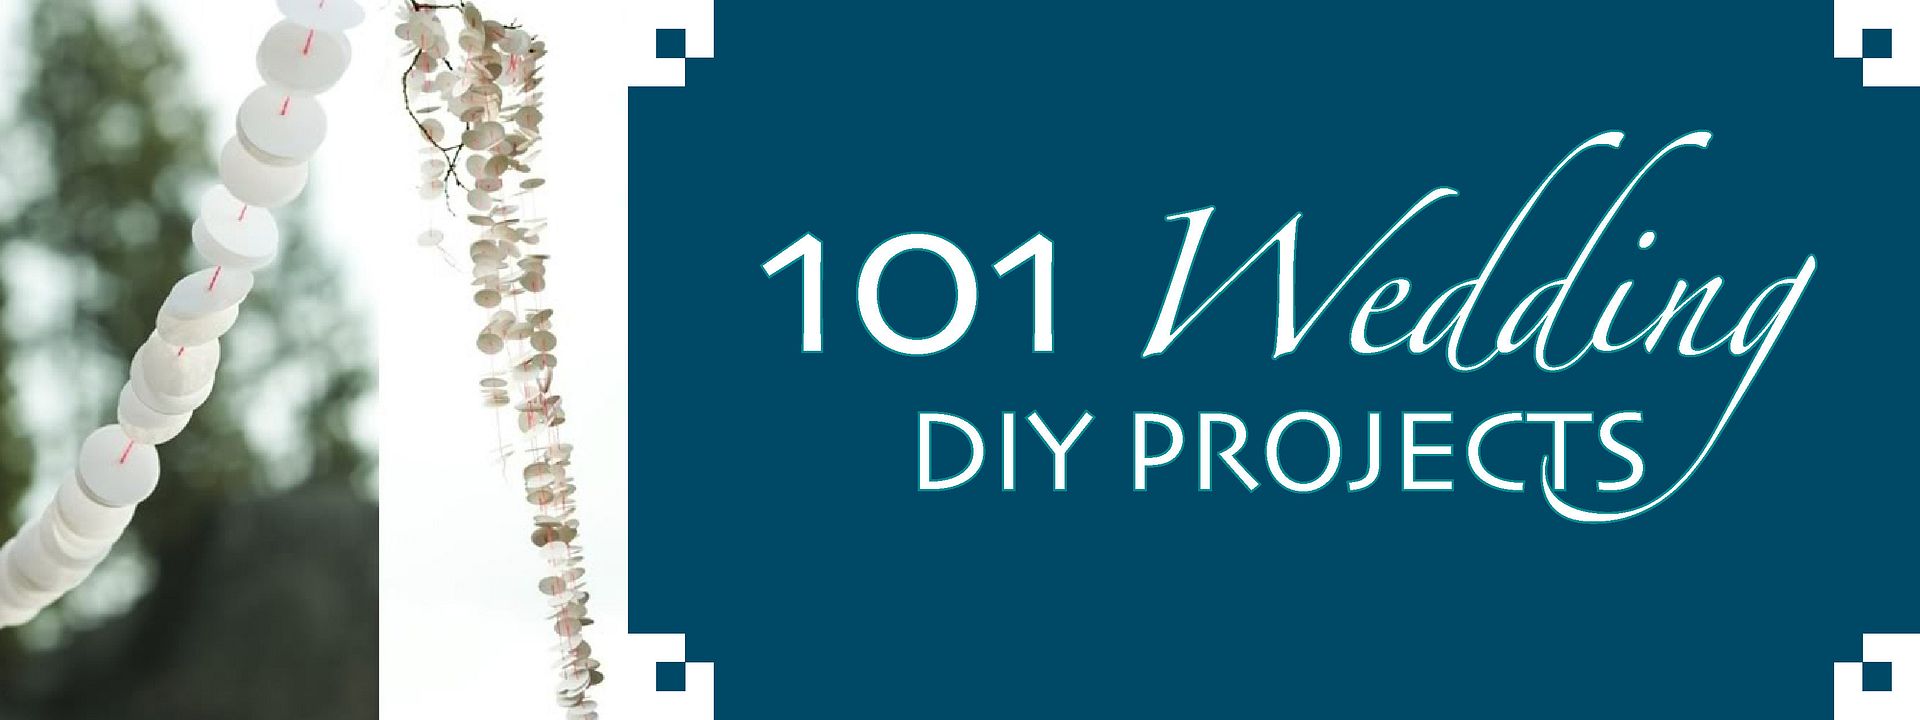
You can now find a list of 101 wedding DIY projects available for you to look through in my tabs section! I hope that you all enjoy looking through the fabulous DIY projects I've compiled from throughout the web that include pinwheel printouts from Oh Happy Day and a lace doily candle holder project from Spirello.
I'll be adding more DIY projects to this list every once in a while, and wanted to ask: What kind of DIY's are you most interested in? Let me know, and I'll do my best to find relevant ideas!
Happy planning everyone! And happy Monday!

|
I love this hair DIY from The Beauty Department. All it needs is a pretty fascinator like this flower clip, and you've got yourself a lovely and sophisticated wedding hair-do. View the entire DIY by clicking here. |
|
There's only a couple of weeks left for autumn to officially start! Is anyone else as excited as I am? There is something so warm about autumn weddings. Maybe it's the idea of fire pits and roasting marshmallows or long-sleeved wedding dresses that sounds enticing, but I almost find myself wishing Joe and I had gotten married in autumn!
I love this pumpkin DIY table decor idea.  Source: weddingchicks.com via Nicole on Pinterest Others: Made from scratch S'mores. Rustic DIY ring box. Barrels reception decor. Table numbers stamped on sack cloth bags. Burlap utensil holders. Soda/beer pumpkin tub. Pumpkin ceremony decor. |
Although I'm not a huge fan of monogram themed weddings, I do believe that minute monogram details make a wedding very much about the couple. I love this decopatch monogram letters DIY tutorial by Yasmin Elizabeth on her blog. To view the entire tutorial click on the image below.

Thank you Yasmin for sharing your tutorial with us!
I love this idea for dahlia flower favor packing from Martha Stewart Weddings. You can download a free template from their website too, and view more detailed instructions! I love them because you can easily create these in whatever color you wish, and include favor tags to spruce them up a bit. They're super cute, not very difficult to make, and go with several wedding styles from an outdoor whimsical wedding to an indoor event.

(photo credit: Martha Stewart Weddings)
I really dig this shoe bows DIY project from College Fashion. Replace all the black the color of your bridal gown and wedding shoes for a nice embellishment! You can view the entire tutorial by clicking the image below.

There is so many creative wedding projects flowing through the web its hard to ignore them. The following are some of my favorites currently circulating the Internet, all worth trying out!
1. Dip Dye Ribbon

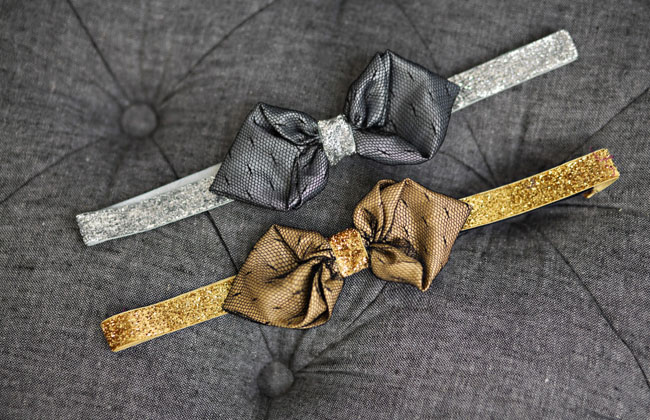
2. Pleated Bow Tie
3. DIY Pinwheels

4. Glitter Pumps

5. Bird Garland

We're thrilled at having one of our DIY projects recently added to Austin Wedding Blog's list of over 100 wedding DIY wedding projects. The list included our rustic style centerpiece cans DIY. It also included projects like a just married banner from Peonies & Pearls and a DIY for making marbleized favor tags from Project Wedding.
You can view the entire list of over 100 projects by clicking HERE.
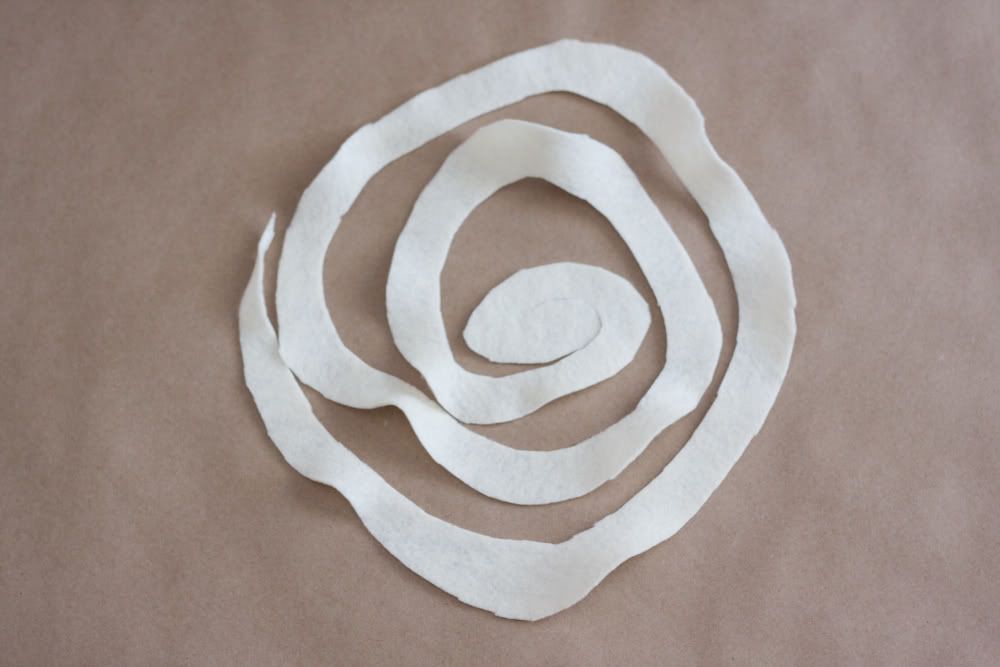
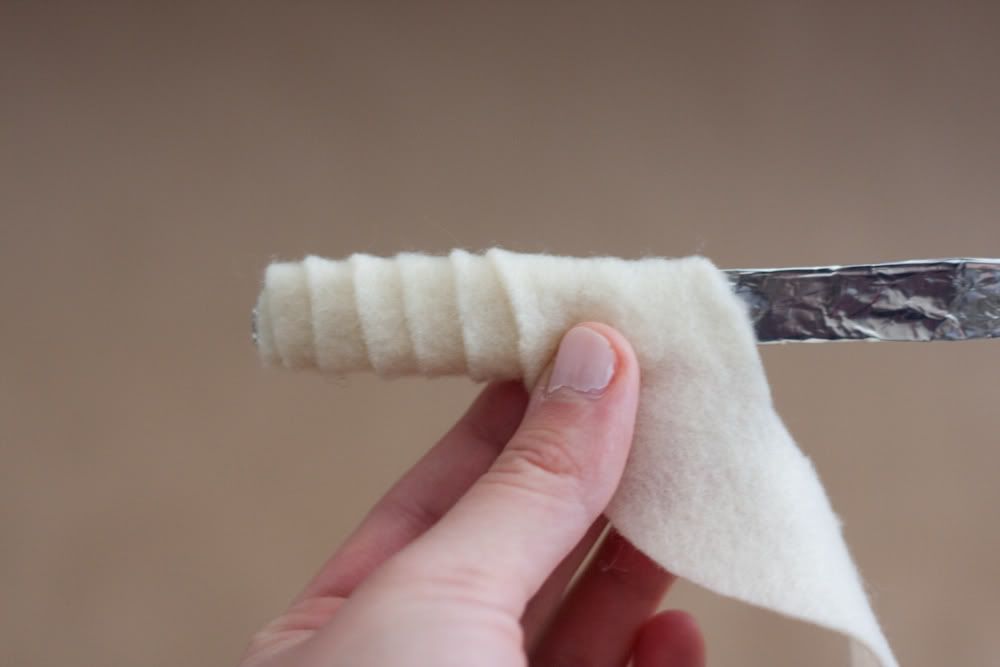
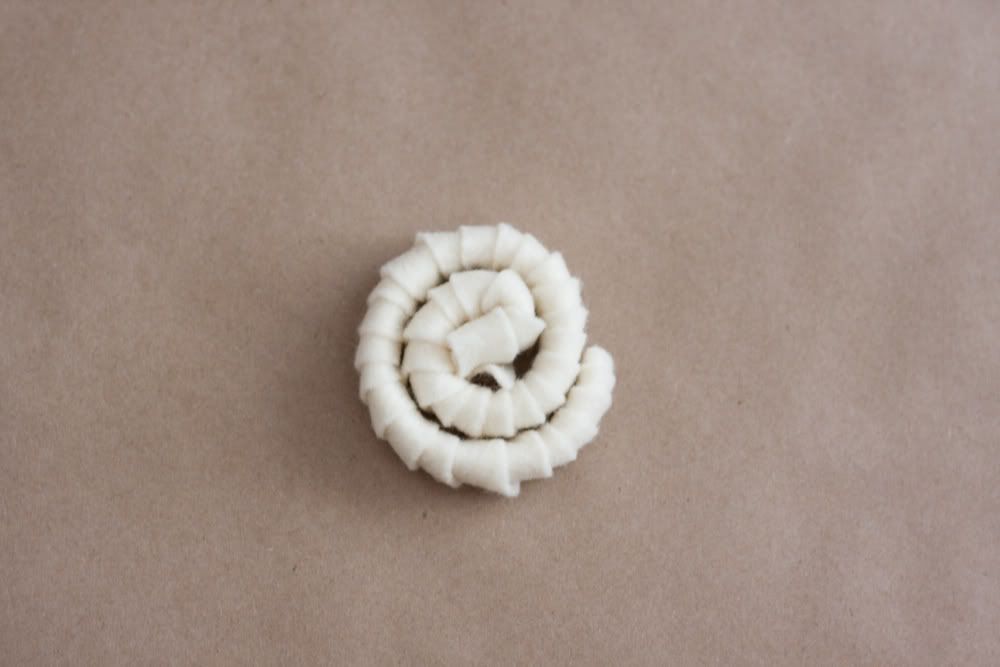
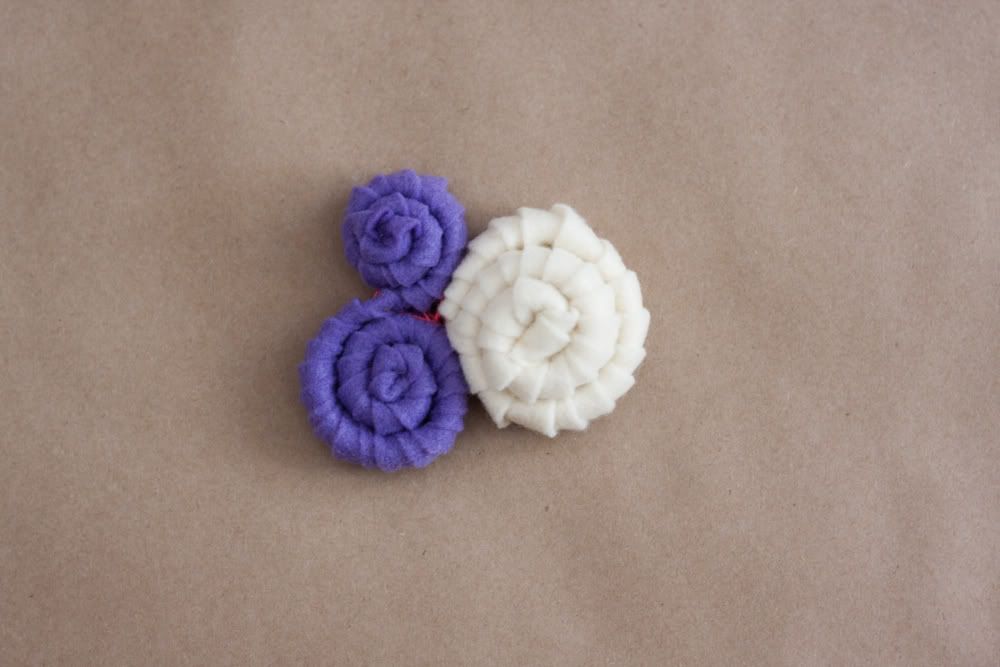
This week I created a felt swirls DIY. These swirls are a perfect addition to whimsical wedding decor and can be used in many forms! I've added them to our twine enveloped cans from last week's DIY for a softer, more interesting look, but you can also add these swirls to a bouquet, other centerpiece forms, hair pins, brooches, wreaths and anything else you can think of!
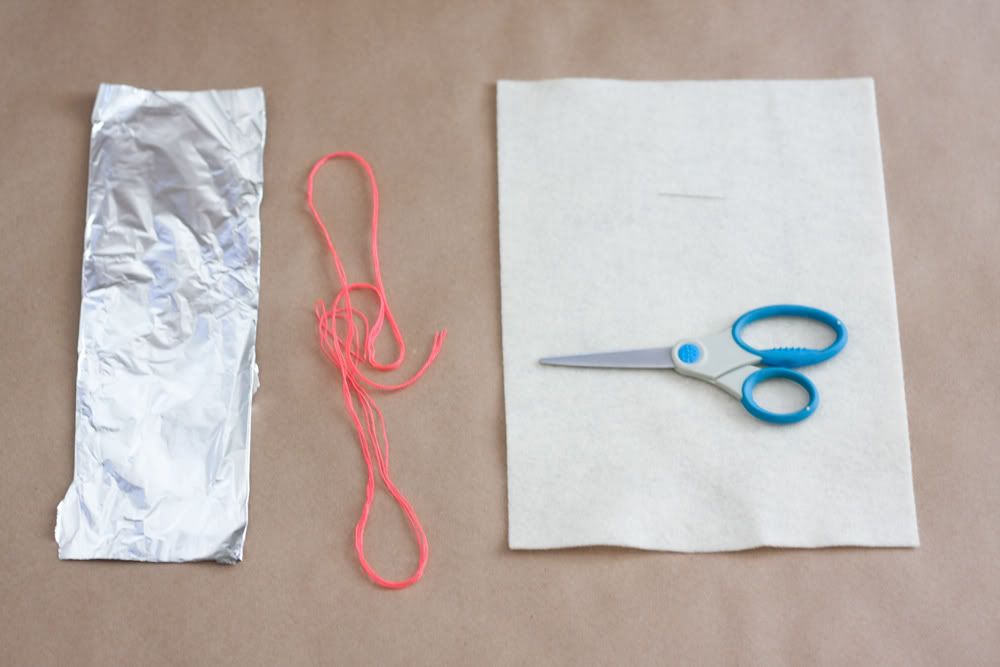
What You'll Need:
A pair of scissors
Sheets of felt in the color(s) of your choice
Aluminum foil
A single needle and thread in the color of your choice
Cost:
The sheets of felt were only 39 cents at Michaels, so the cost for the felt is $3.90 for every ten large flowers you want to create. We already had the thread, needle, and scissors. Most likely you will too. And we also had the foil already, but if you need to purchase foil, you can get a roll for around $5, making the total for this project around $9 for 10 large swirls.
Steps:
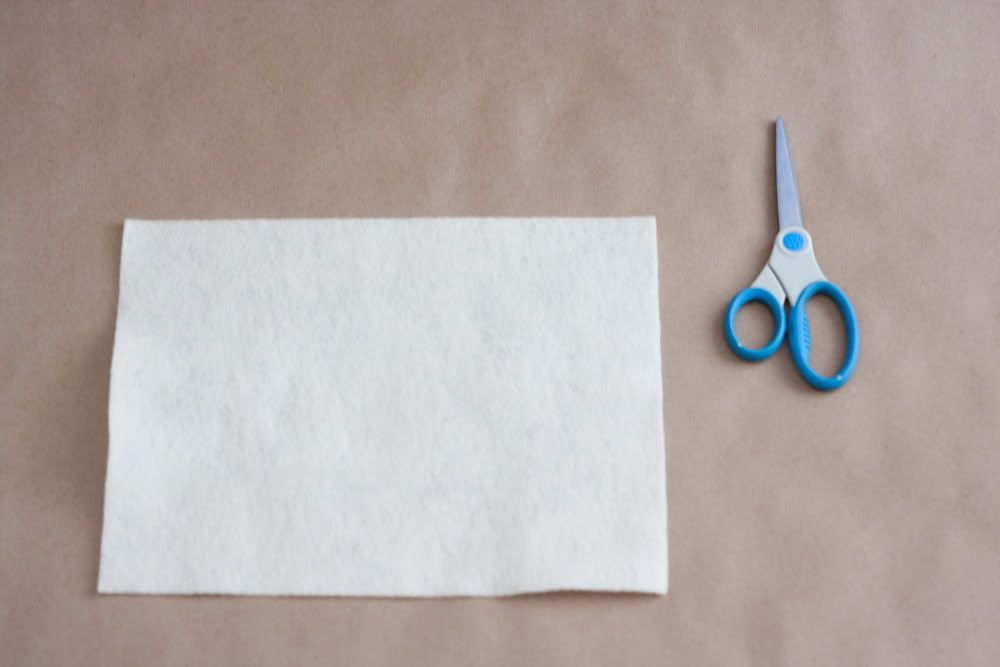
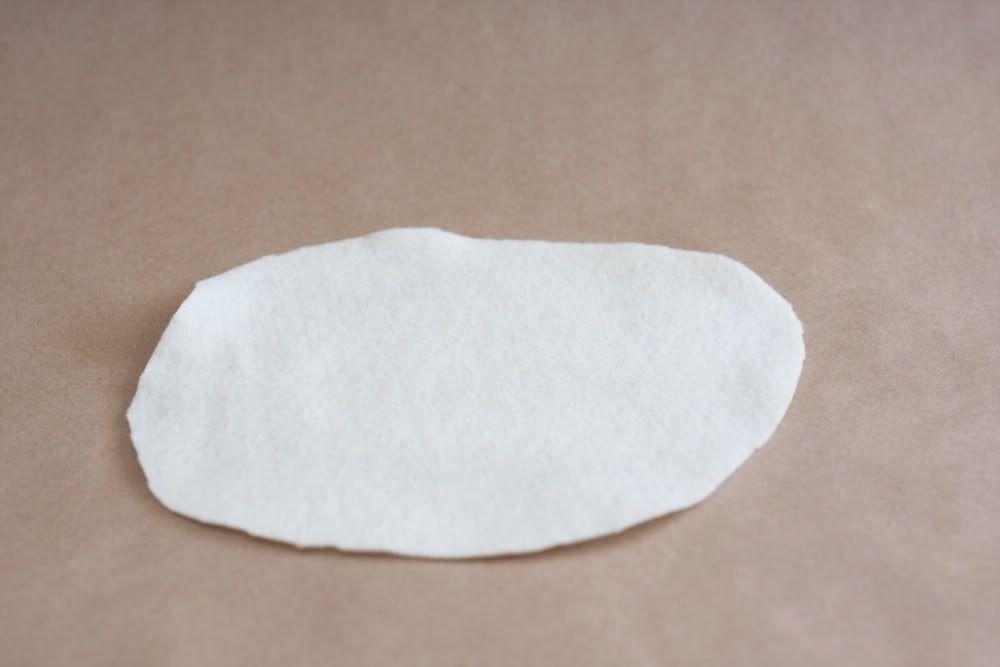
1. Set aside your needle, thread, and foil. Cut your felt into an oval. And cut the oval into a swirl pattern like the one shown in the photo.
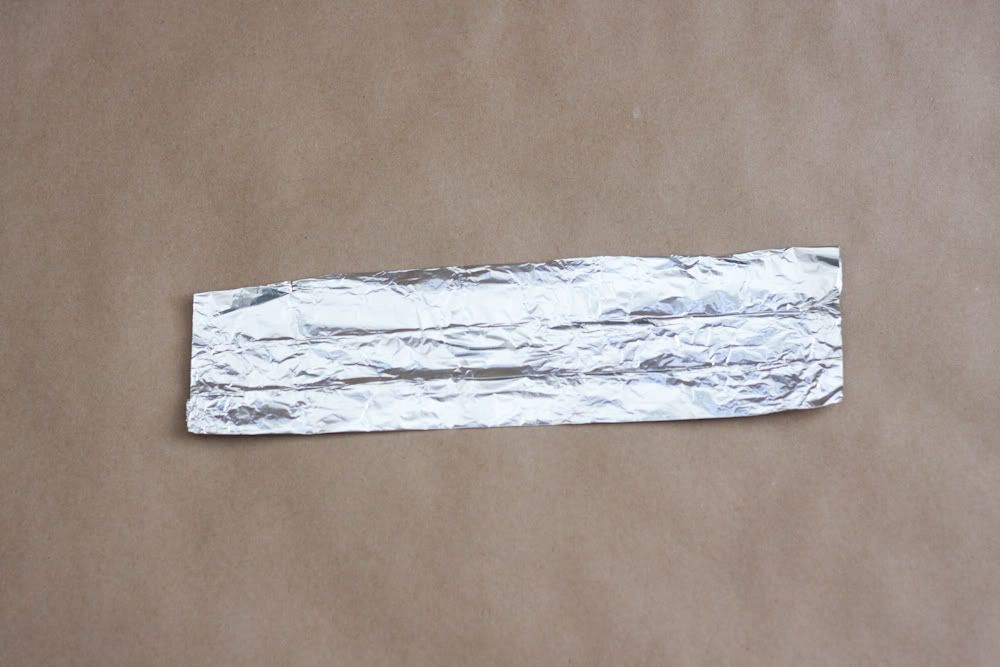
2. Take your foil and cut a small rectangular piece. Fold it in half twice horizontally.
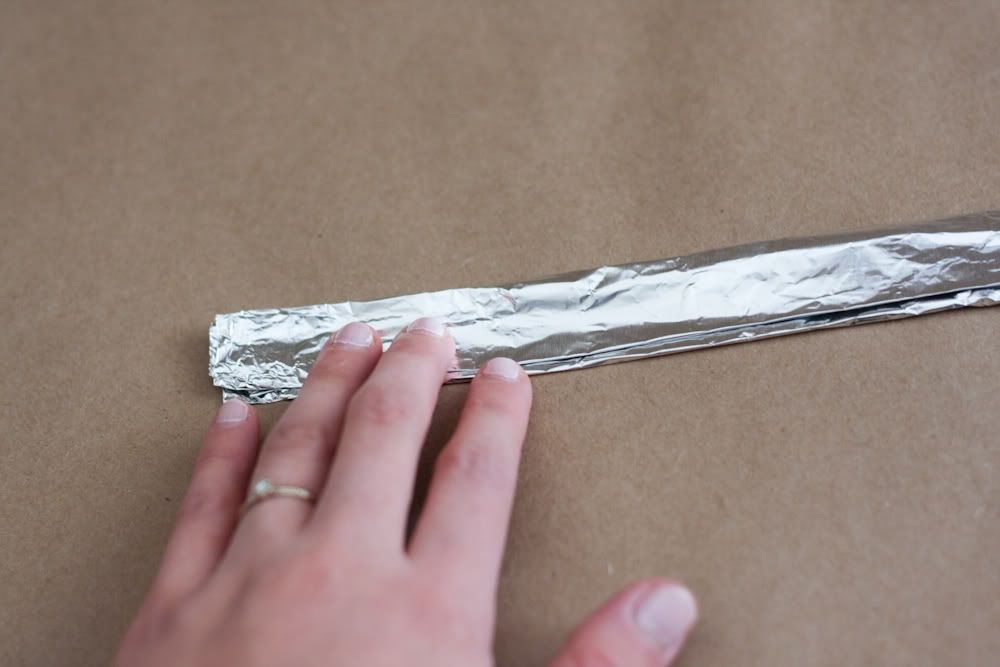
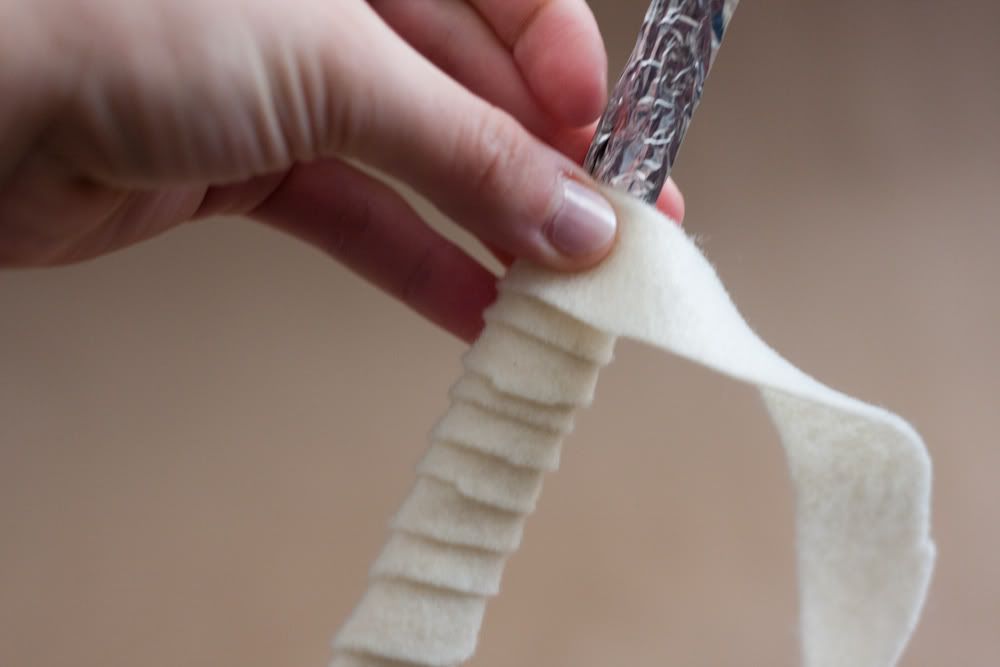
3. Take your felt and wrap it around the folded foil until you reach the end or run out of felt. Cut any remaining foil.
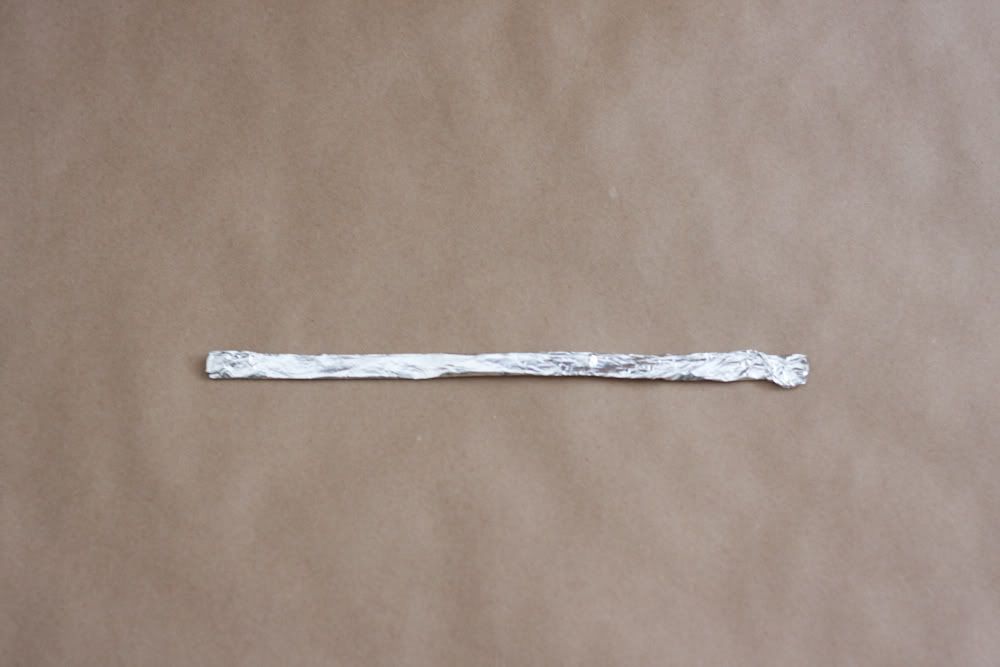
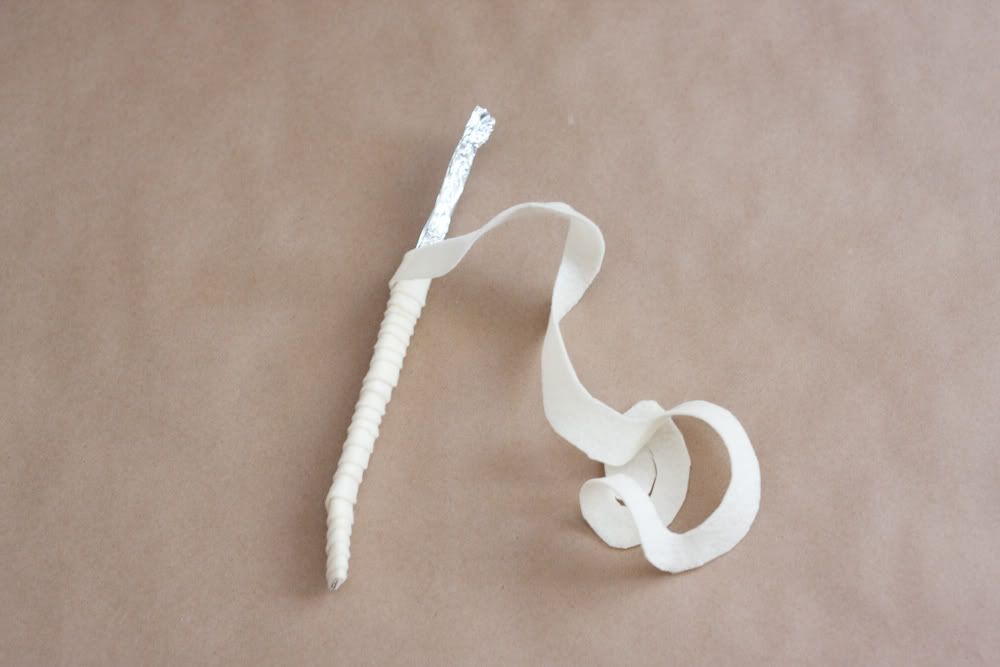
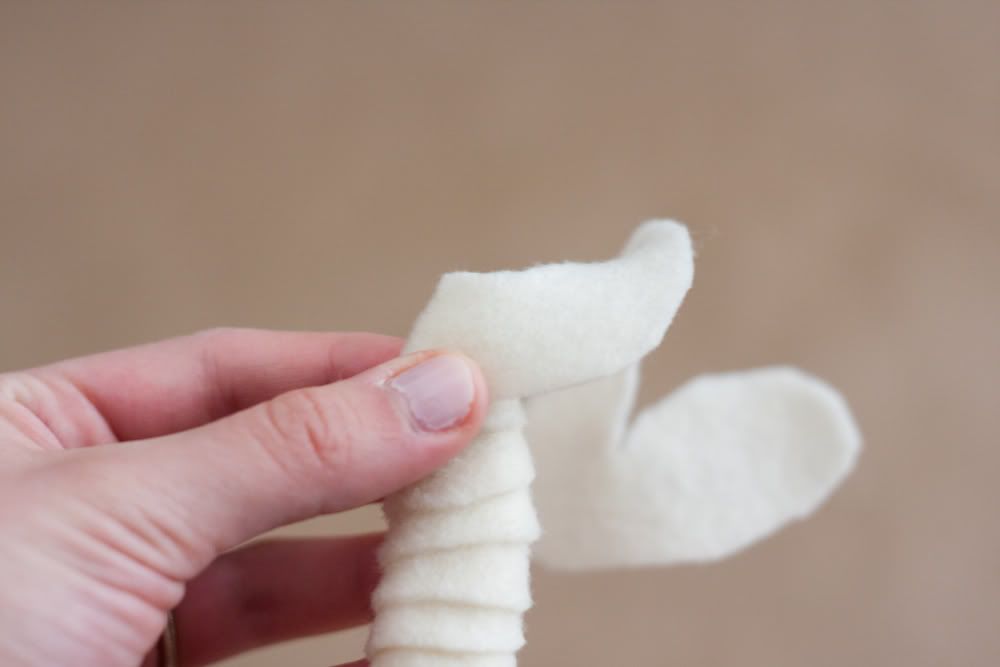
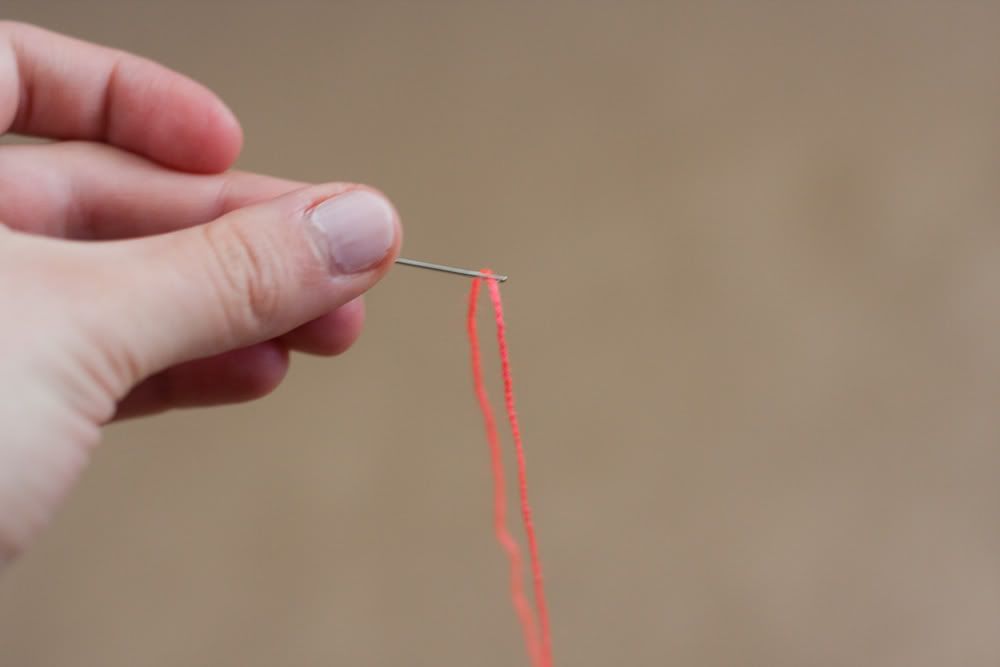
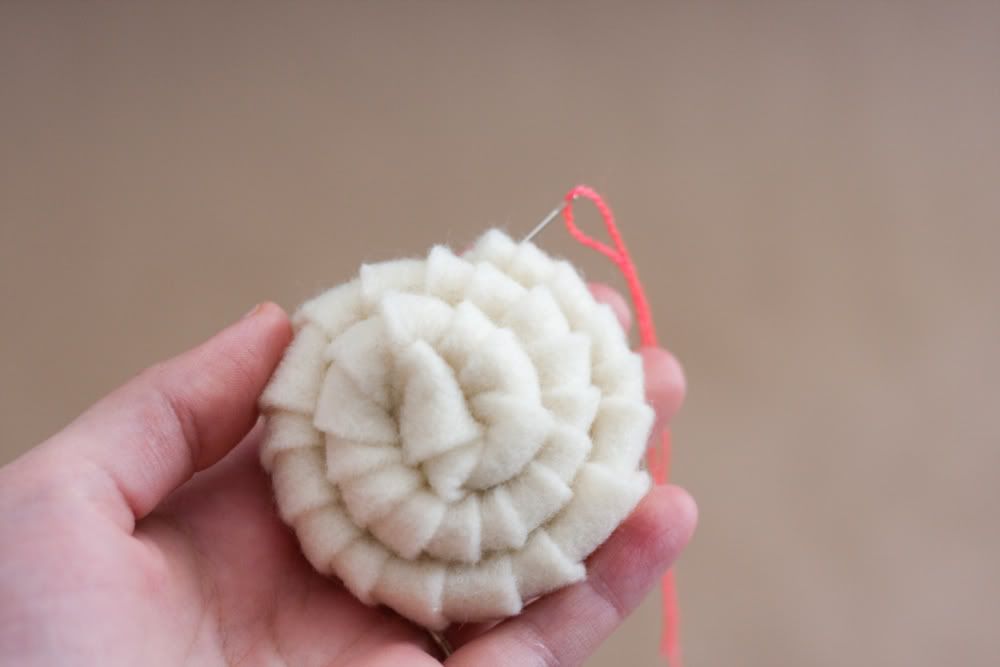
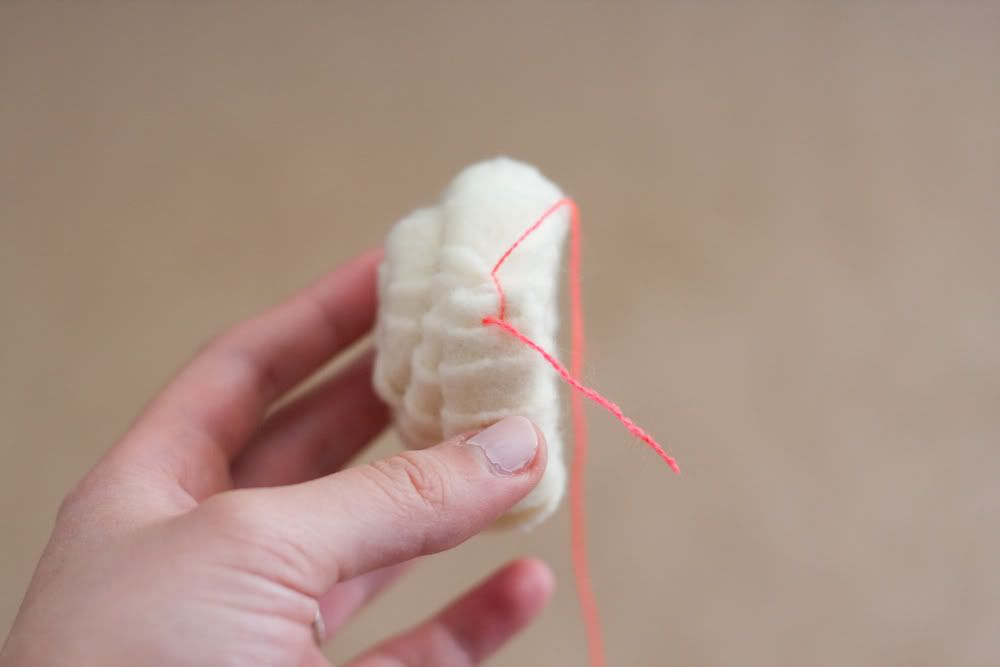
4. Take the felt wrapped foil and twirl it into a swirl. Thread your needle and create a few stitched at the end of your swirl to keep it in shape.
5. Create a few more swirls and either sew them together or glue them together with a glue gun.
6. Repeat for as many sets of swirls as you'd like. Add them to a wreath, centerpiece or simply lay them out for a whimsical wedding feel.

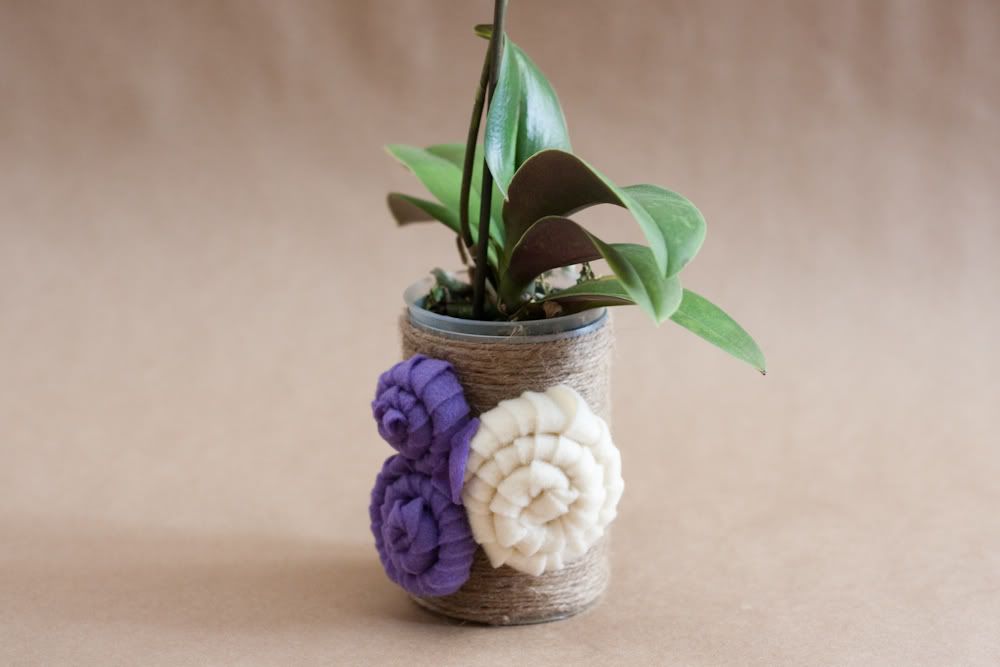
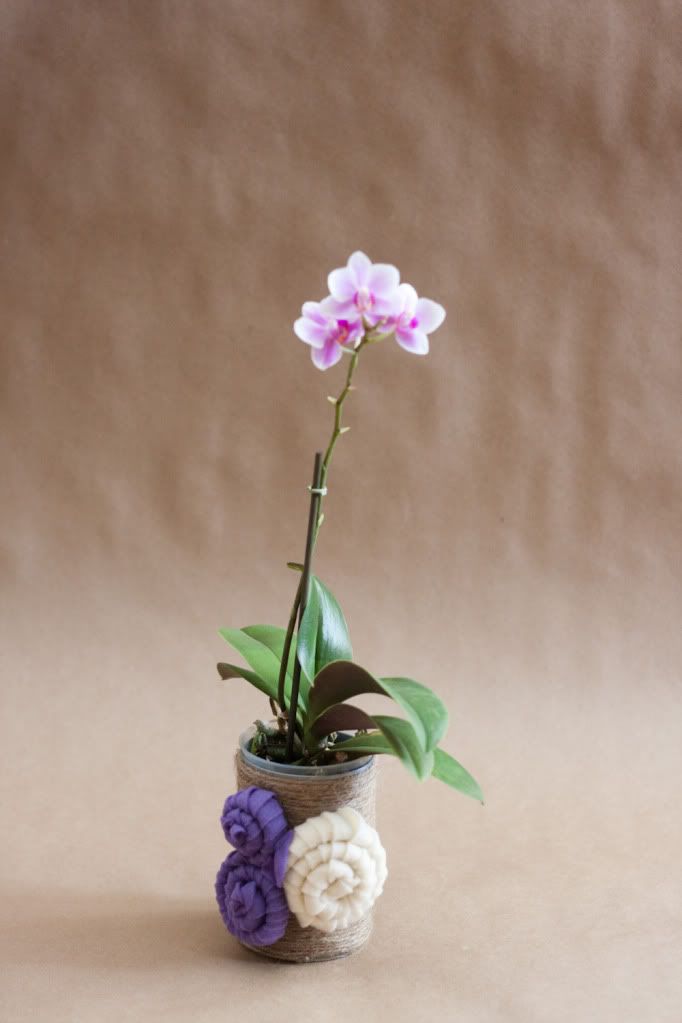
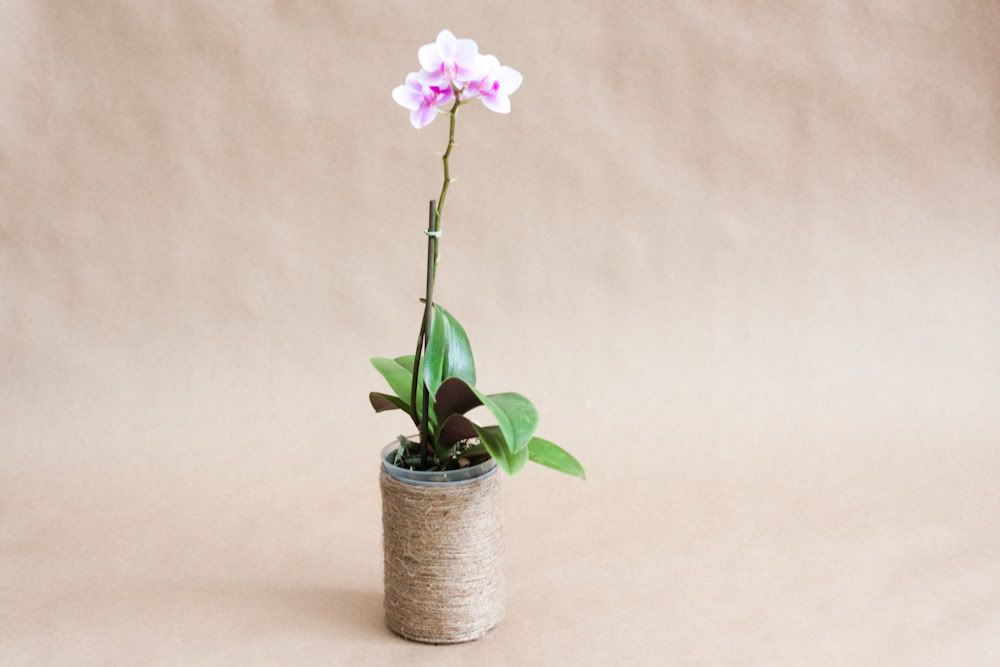
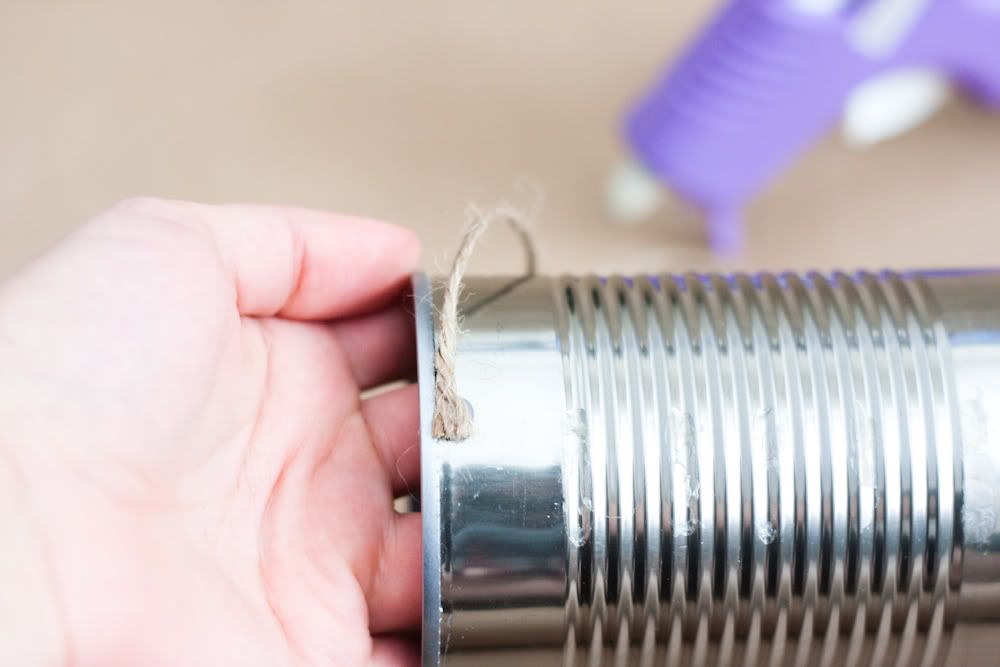
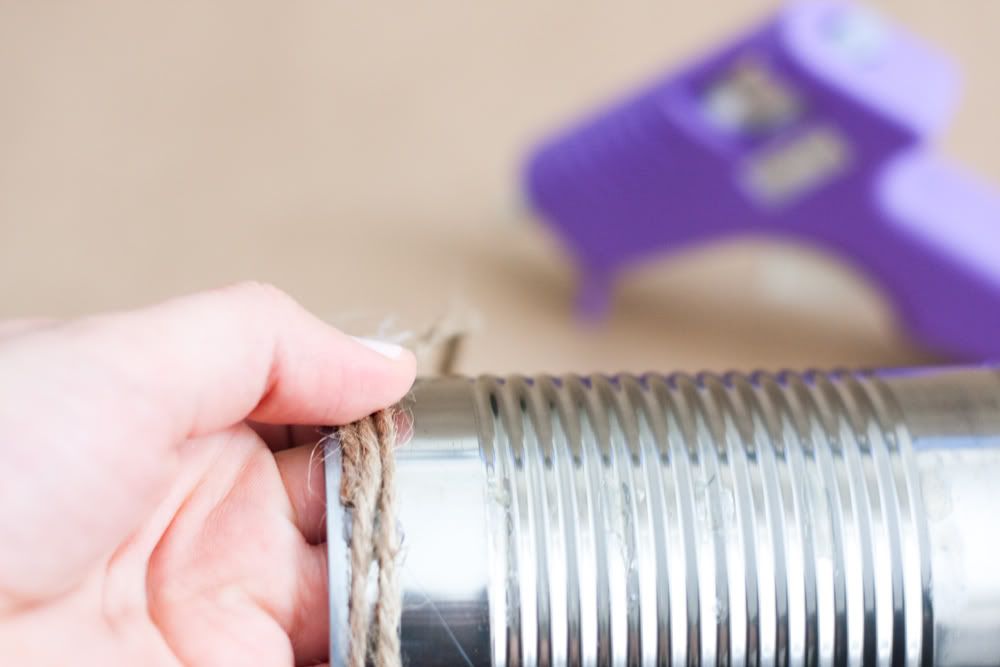
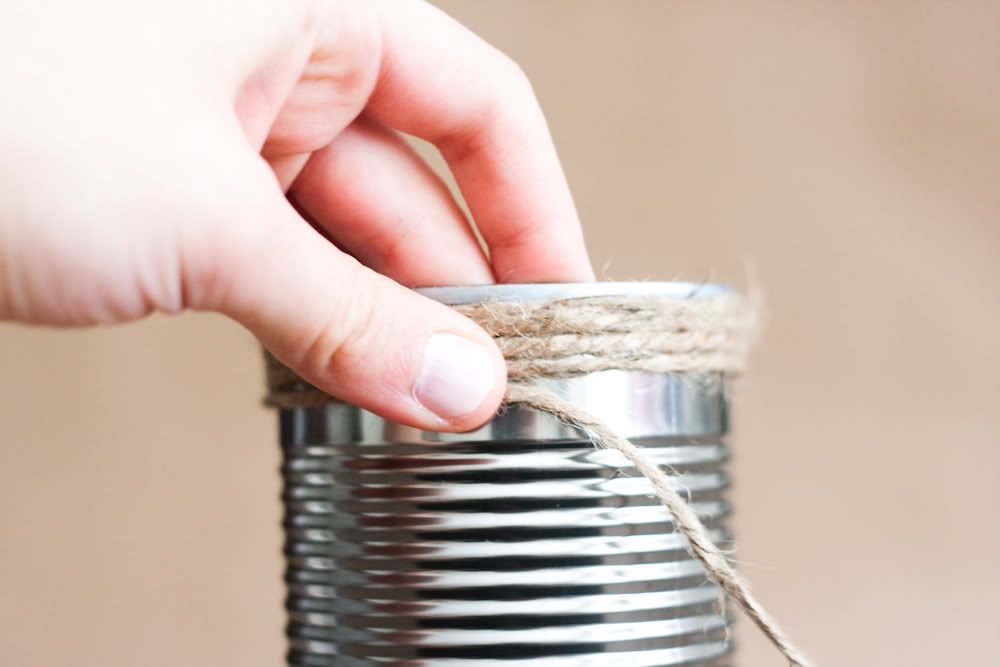
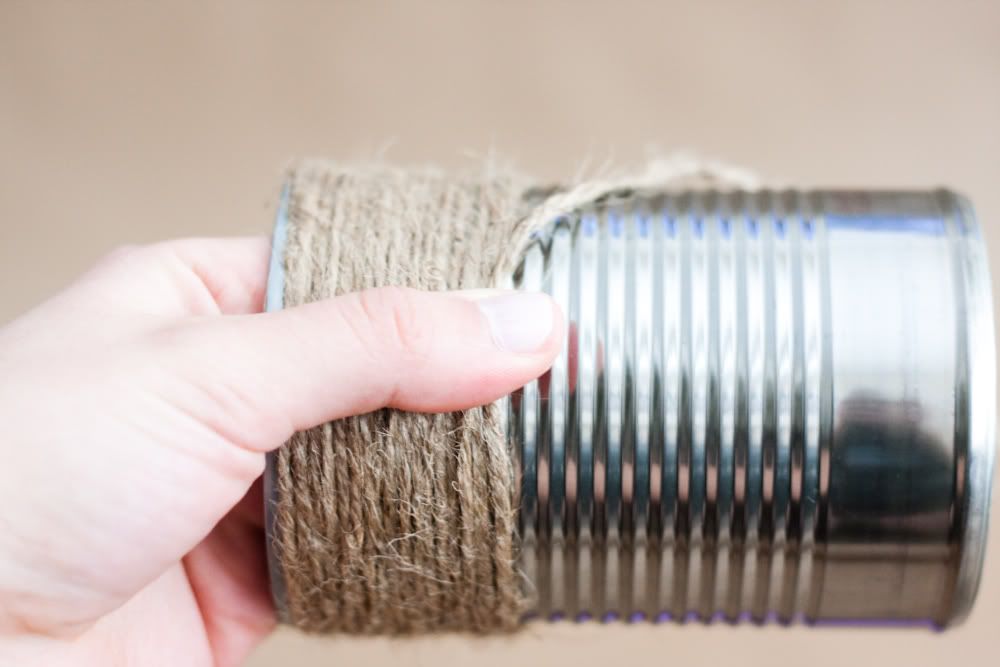
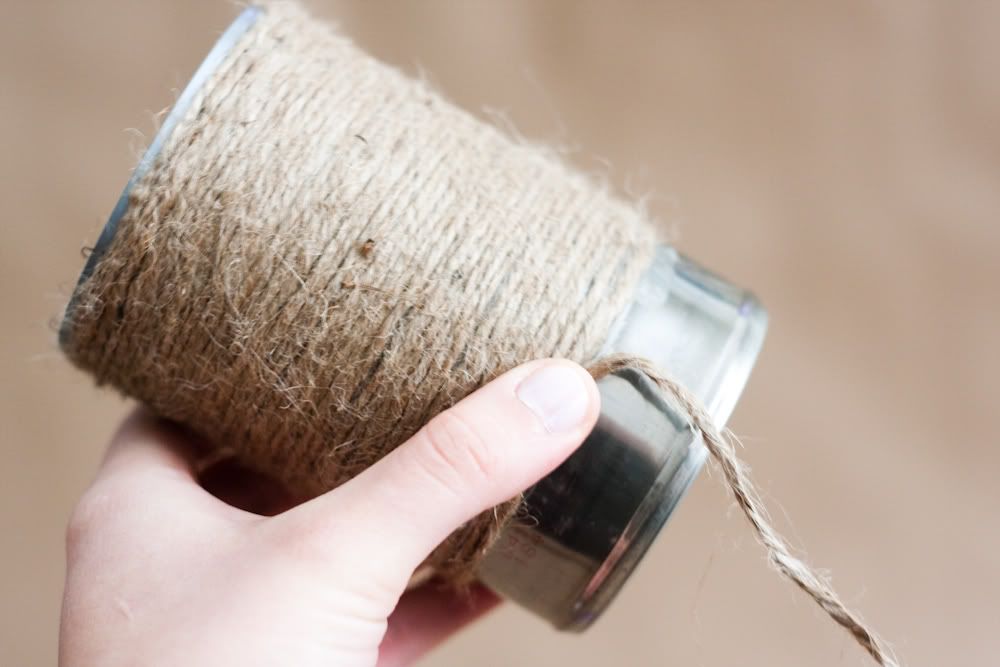
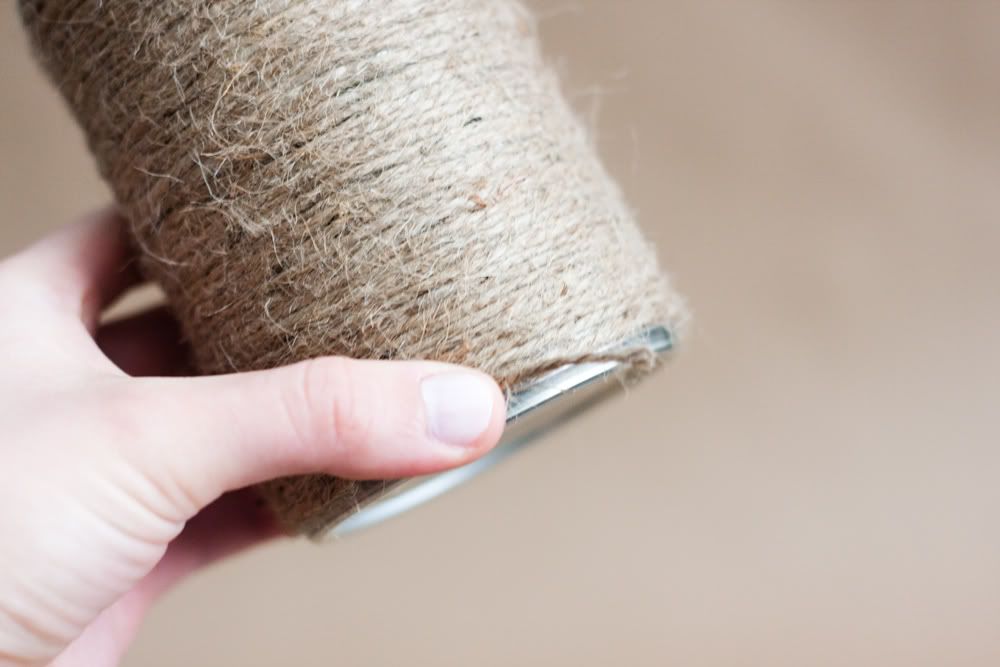
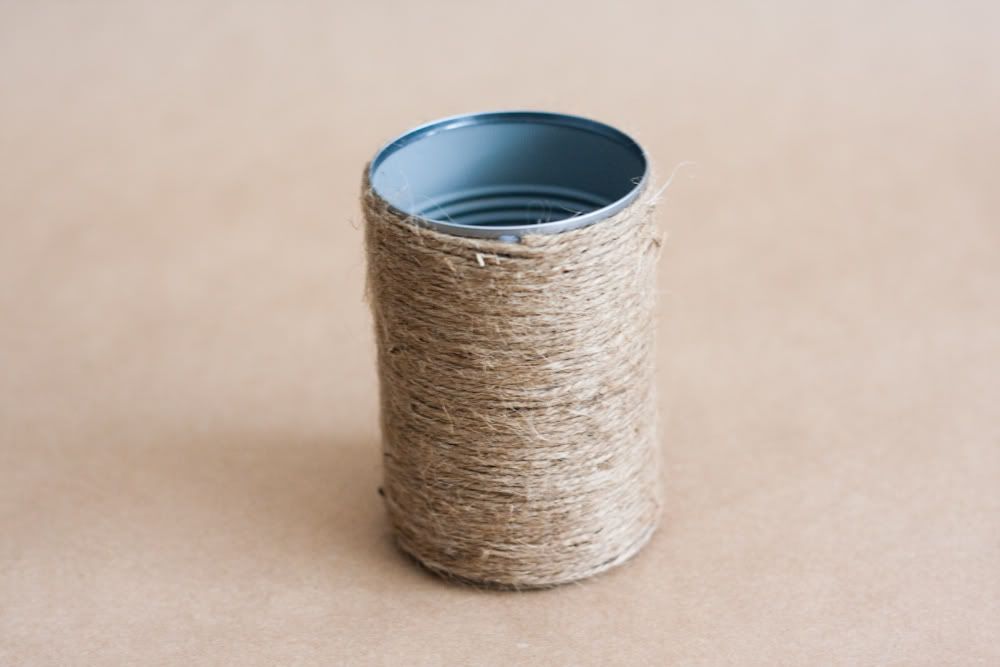
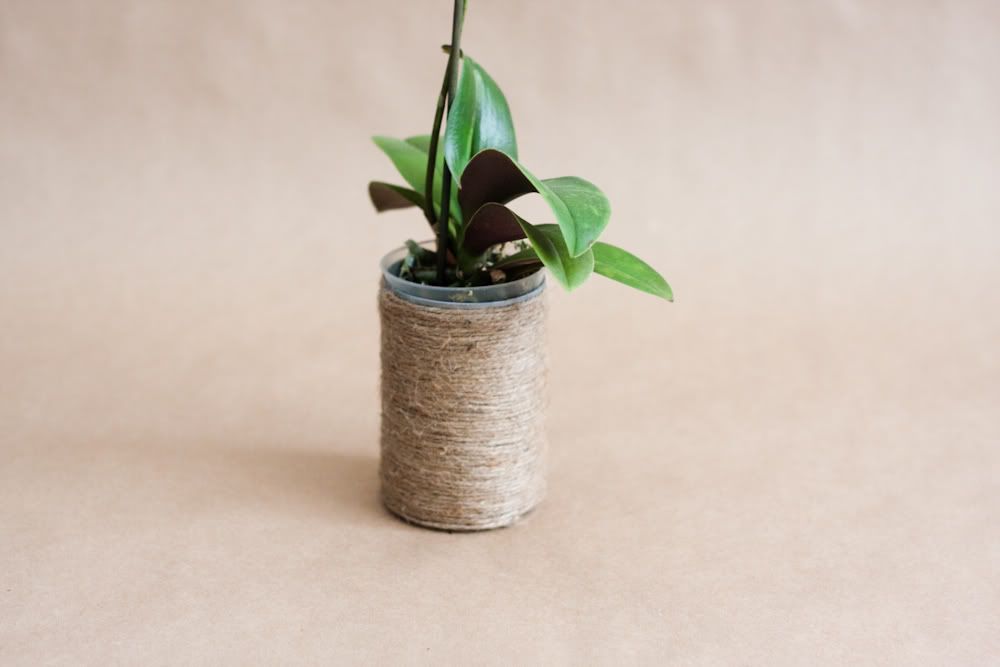
Our DIY project today, twine enveloped cans, is a simple centerpiece option perfect for a rustic, outdoor, or barn wedding. You can fill them with small orchid plants or wild flowers, for a chic rustic vibe!
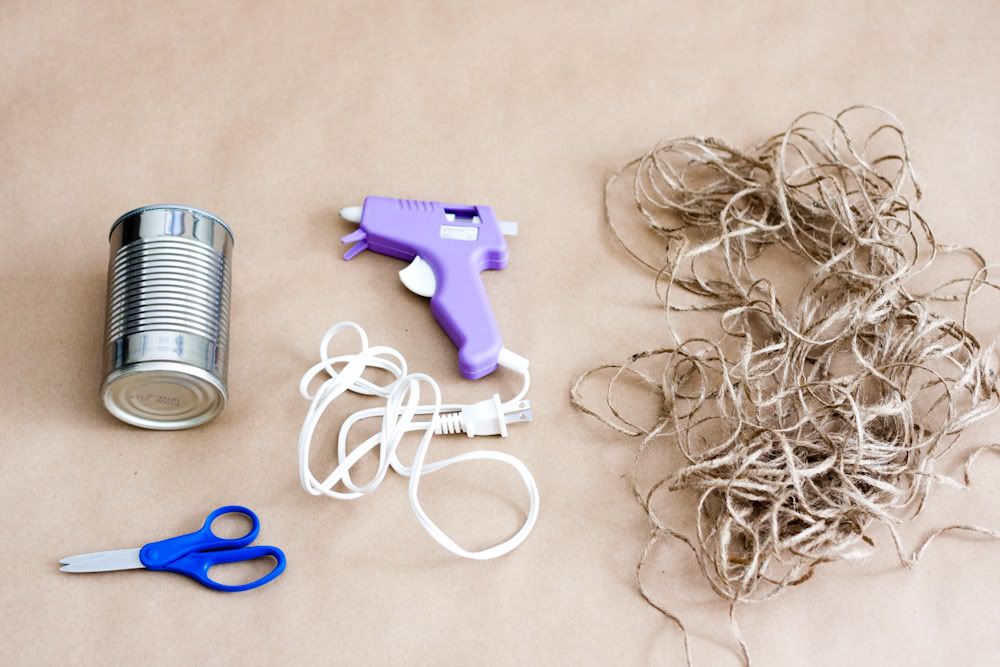
What You'll Need:
A pair of scissors
A roll of twine or yarn in any color
As many cans as you desire
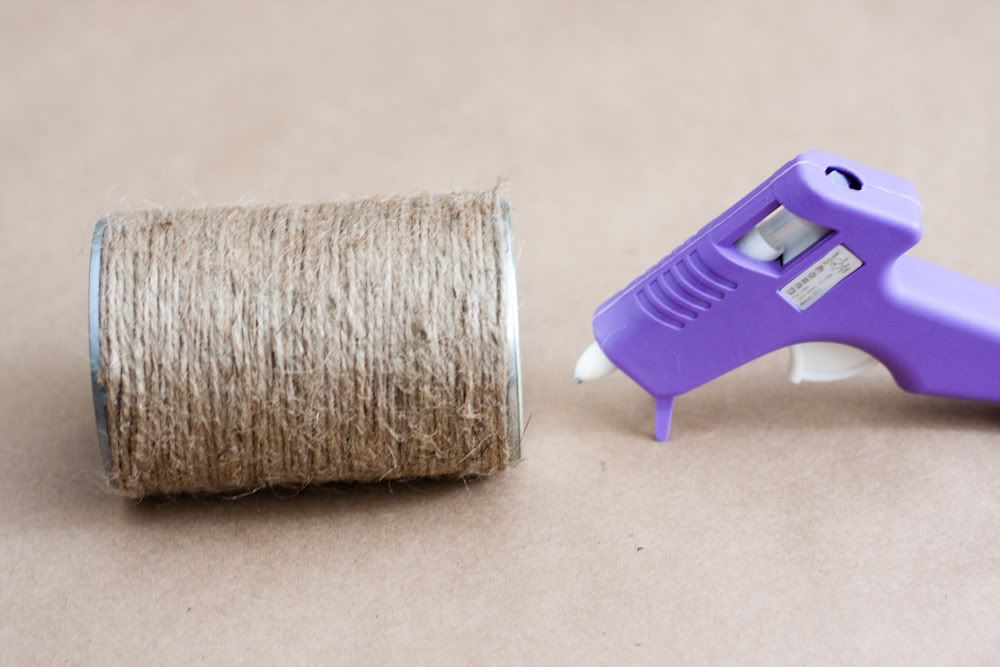
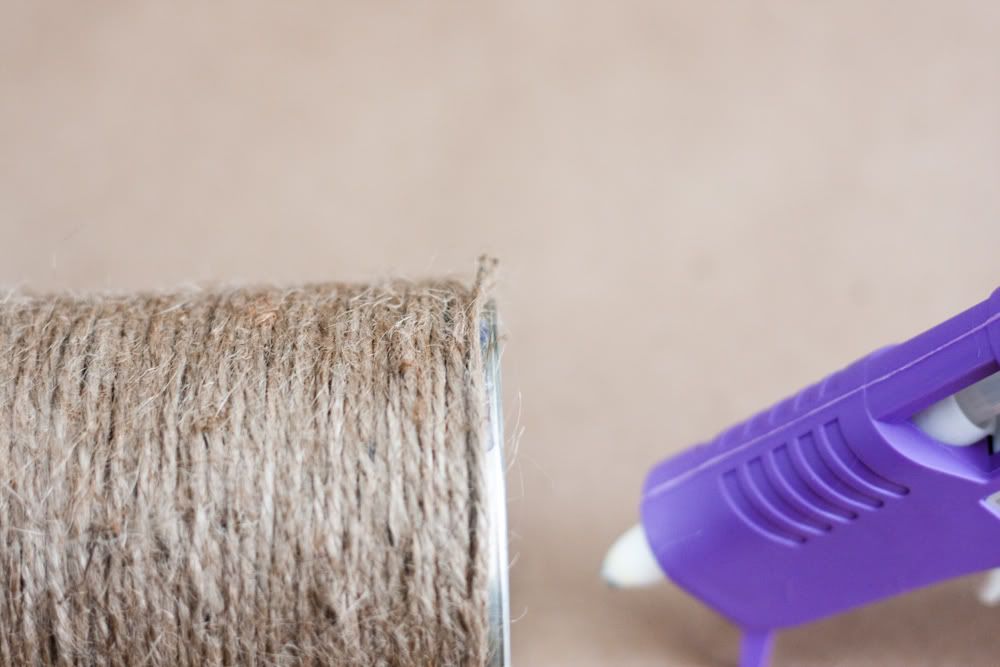
A hot glue gun
Cost:
This is a relatively low costing project depending the number of cans you already have in stock, and how many you still need to buy. You can also ask friends or family members to save their cans for you for this project. The total cost can be anywhere from $5 for twine to $15 for your entire wedding table decor (without including cost of flowers).


It could only be so long until we had a braid inspiration board! There is no denying that braids are VERY in right now. And I'm not complaining about the fad at all. I love braids. They can be worn meticulously for a sleek bridal look, or more loose for a romantic nature feel. Each photo credit below comes complete with a link to each style's tutorial.
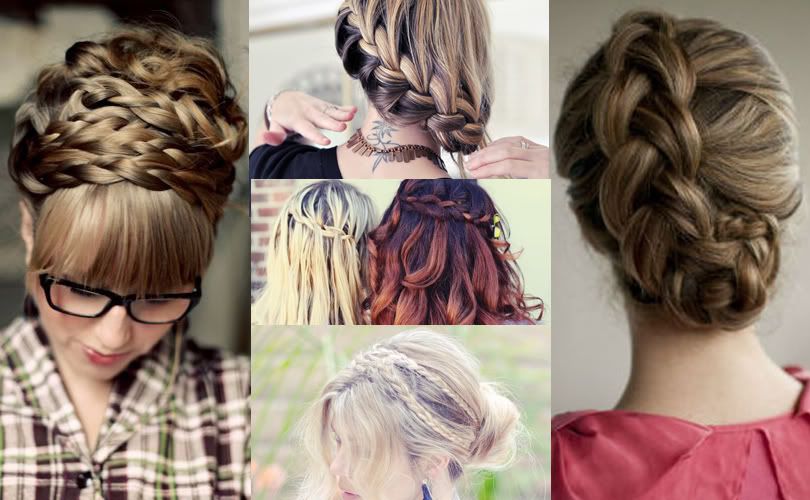
Photo credits from left to right: maiden braid, side braid, cascade braid, braid strands, dutch braid.
Have you ever considered black dresses for your bridesmaids? It's usually something brides shy away from, but I love how this bride and her bridesmaids choose black dresses matched with different colored tights! I also love their colorful bouquets.
For those of you that like the idea, but are having a hard time finding colorful tights, you can make this a handmade project by purchasing white tights and a dye in the color you wish at your local craft shop or online. Mix the dye with salt and water, and simply put the tights in a couple of minutes, then set them out to dry.

(photo credit: Green Wedding Shoes)
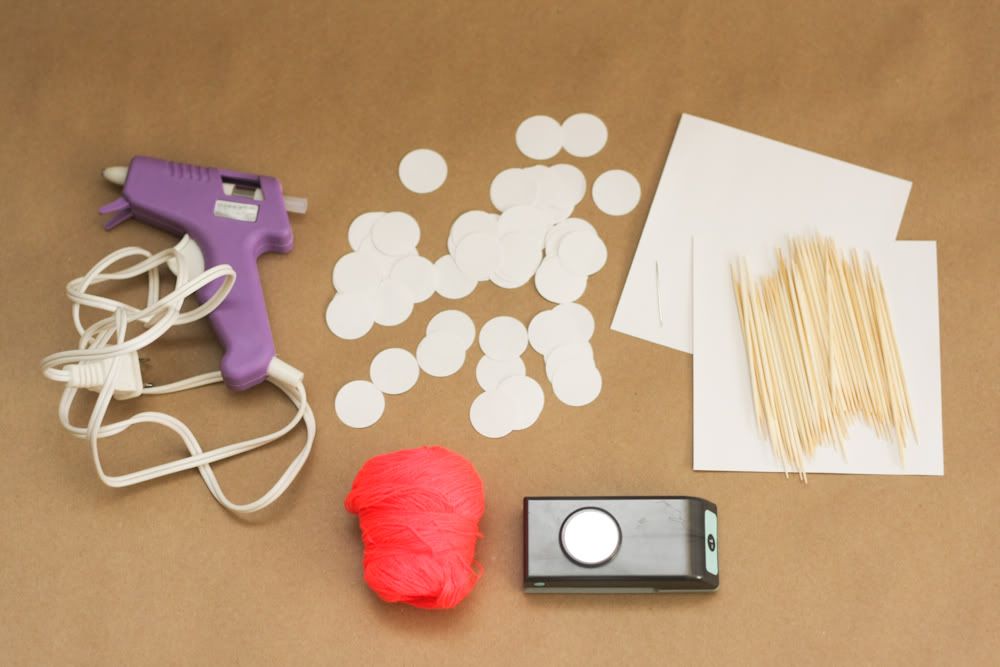
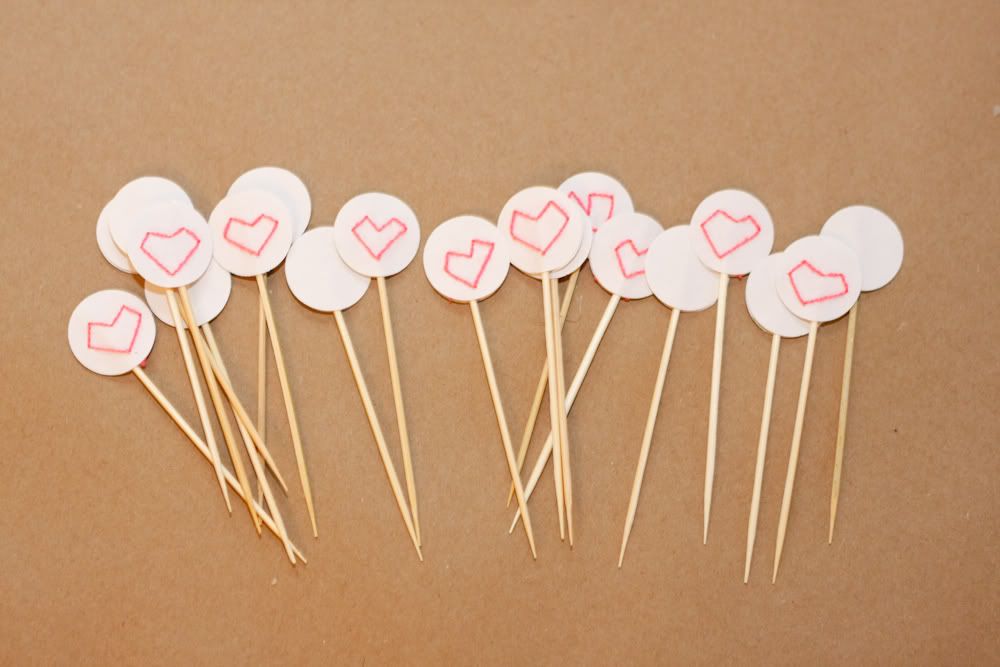
What You Will Need:
Paper stock in the color of your choice
Hot glue gun & a pair of scissors
Toothpicks/skewers at your preferred size
Round paper punch at least one inch in diameter
A single needle and some bright colored thread (ours was the same thread you use for needlepoint projects)
Price to Make: A lot of these items we had left over from our circle garlands DIY project. And we already had toothpicks and a hot glue gun at home so we literally spent zero dollars on this project. If you're starting from scratch and need to purchase all the materials the cost of this project is around $15 to $25 dollars.
Directions:
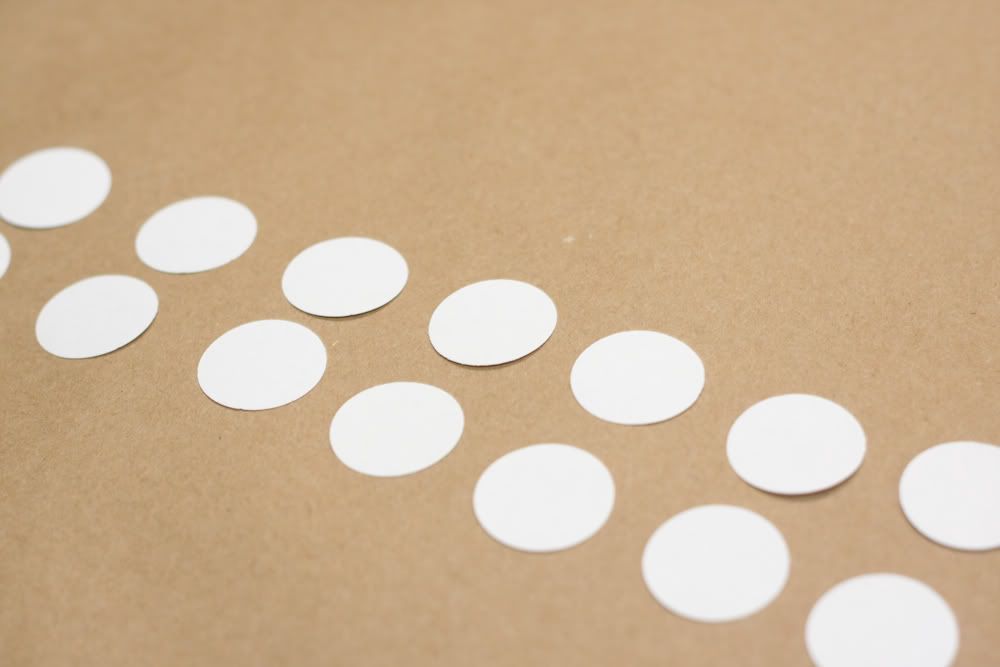
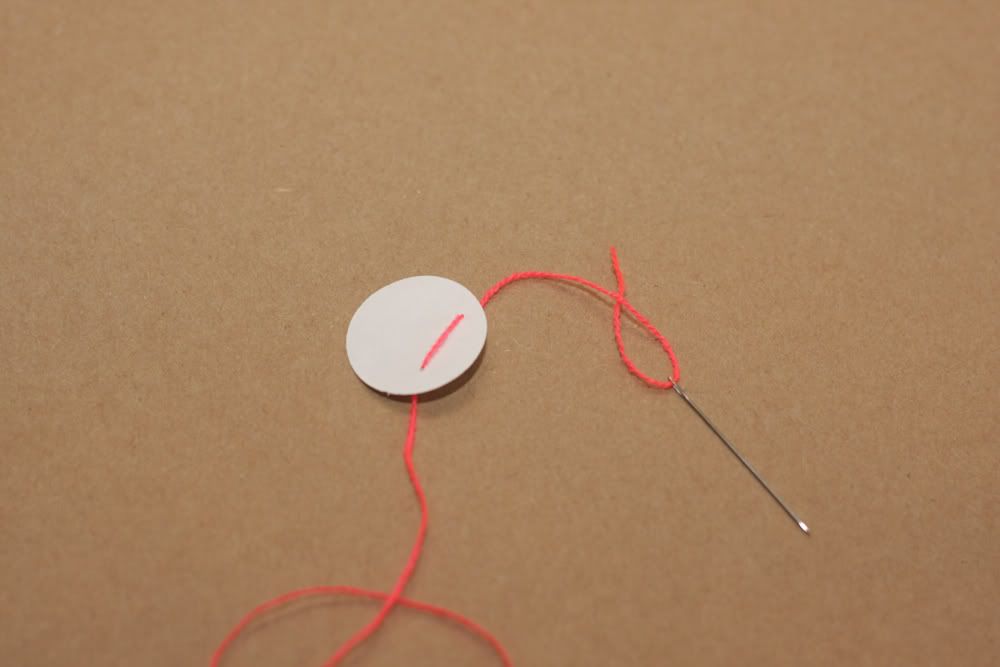
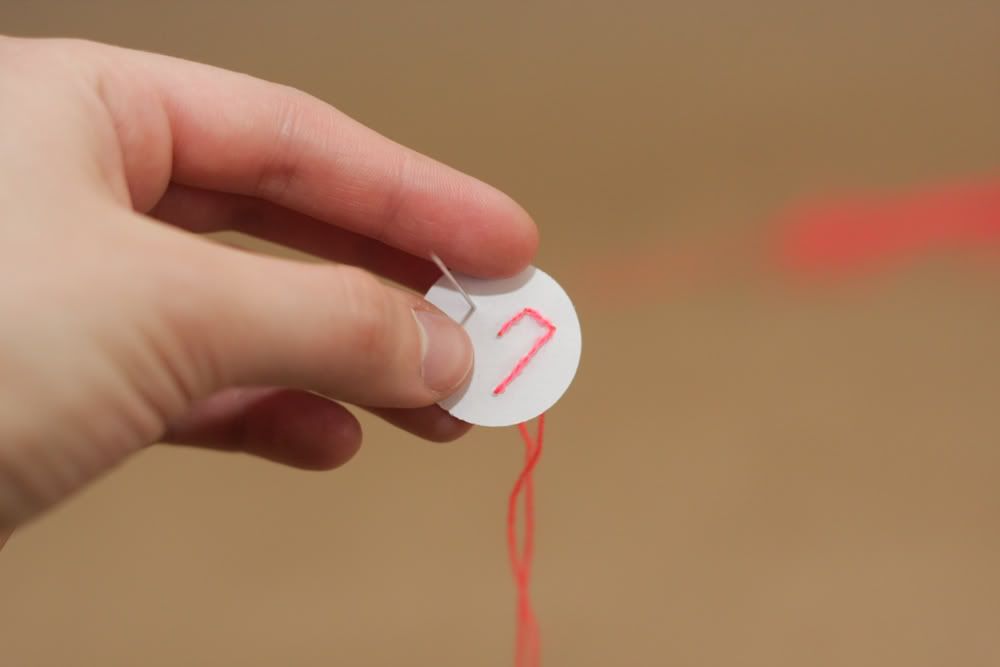
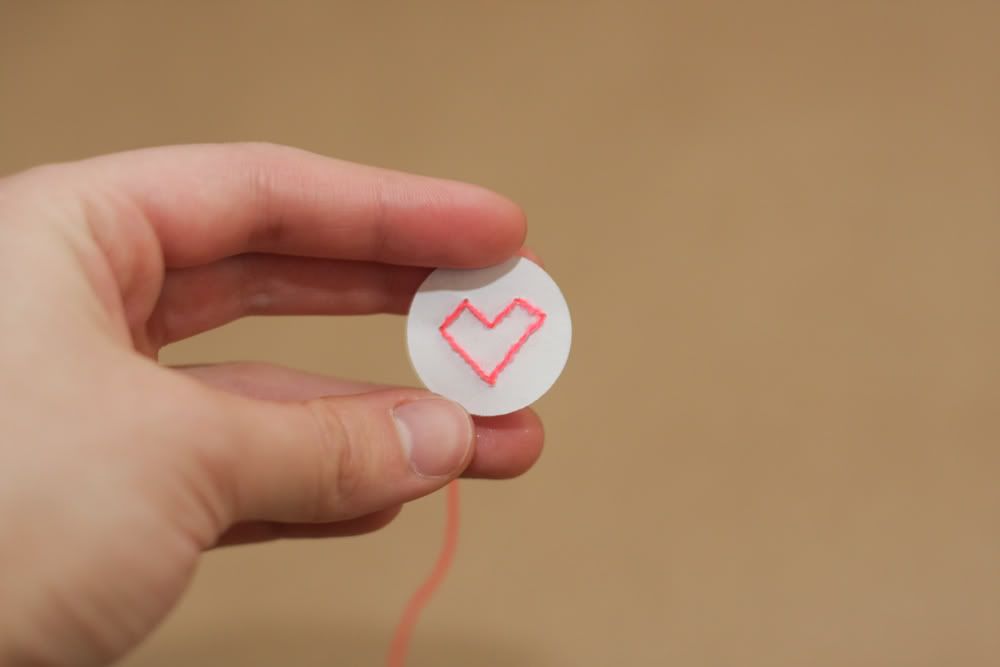
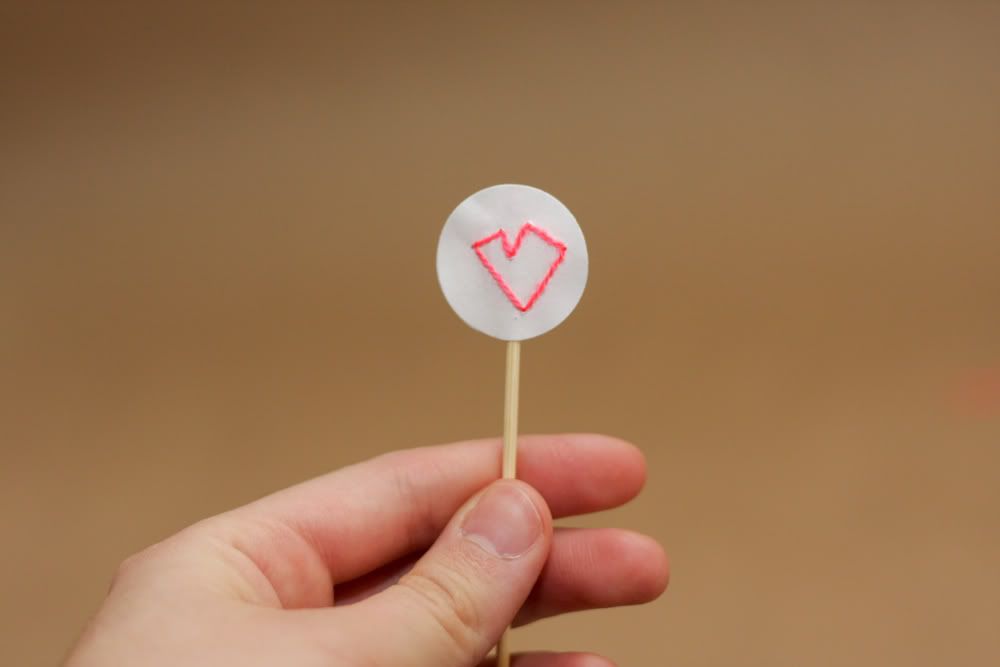
Step 1: Using your circle punch, punch out a vast amount of circles and set them aside. Cut out a vast amount of thread pieces, each about 12 inches long, and set those aside as well. Each thread will make about three hearts on your paper circles.
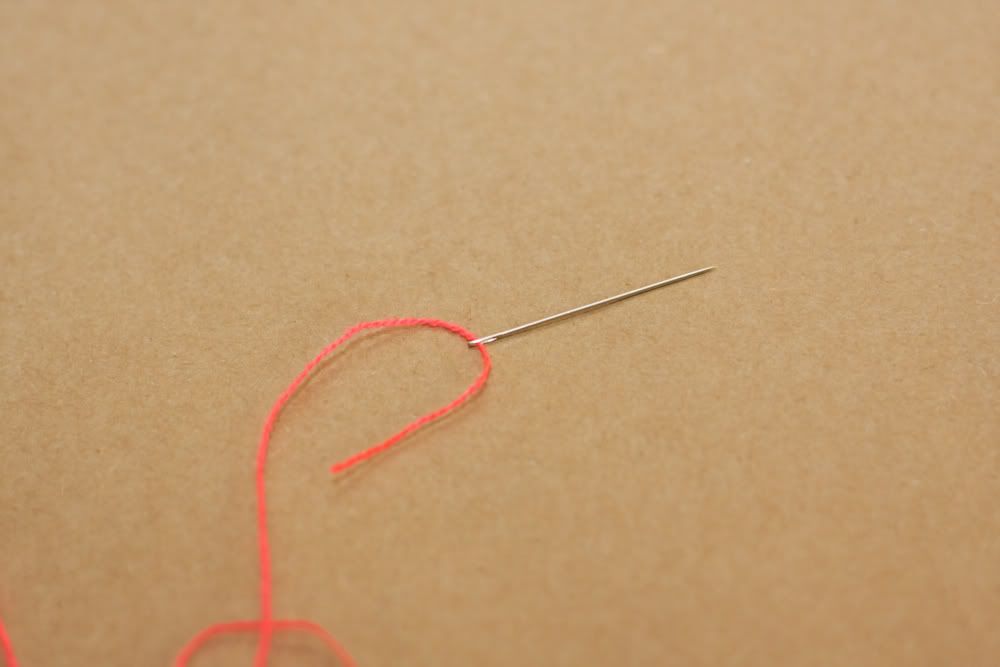
Step 2: Thread your needle, making sure that you leave one end about an inch long throughout the whole project. Then take one of your circles.
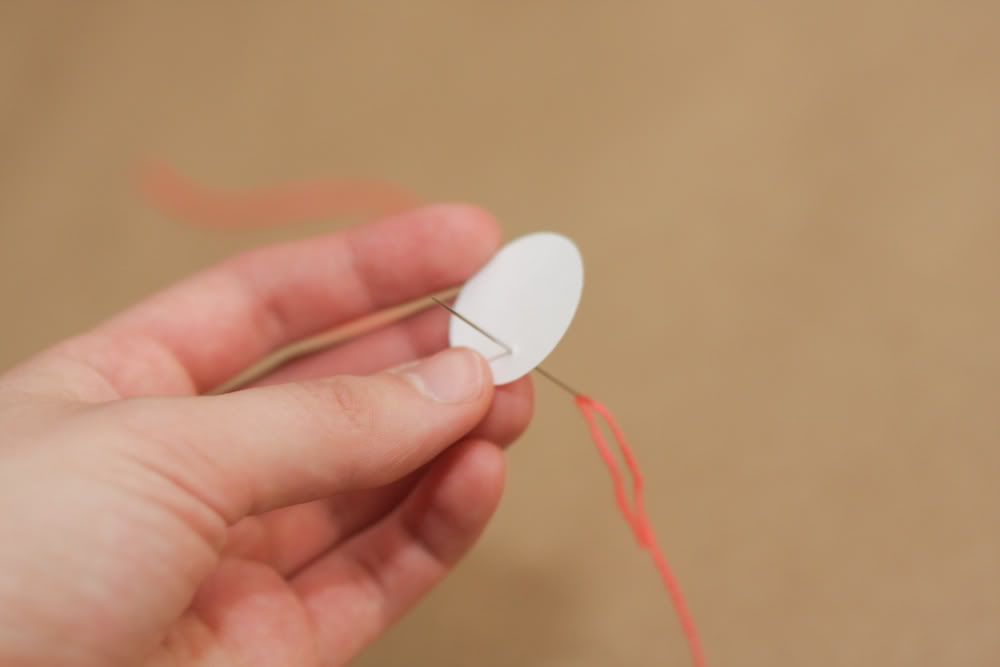
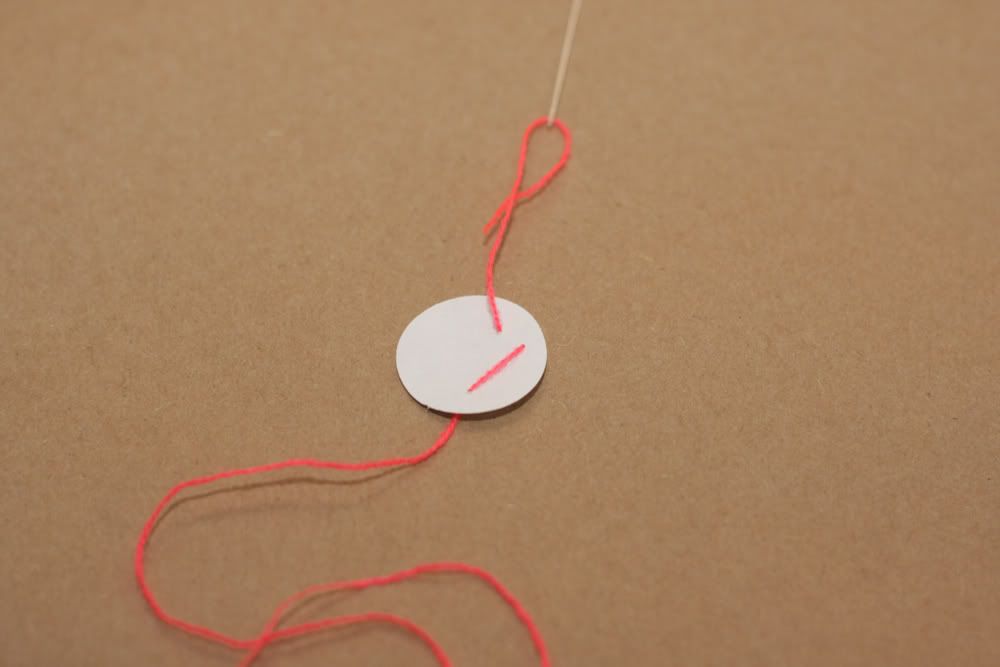
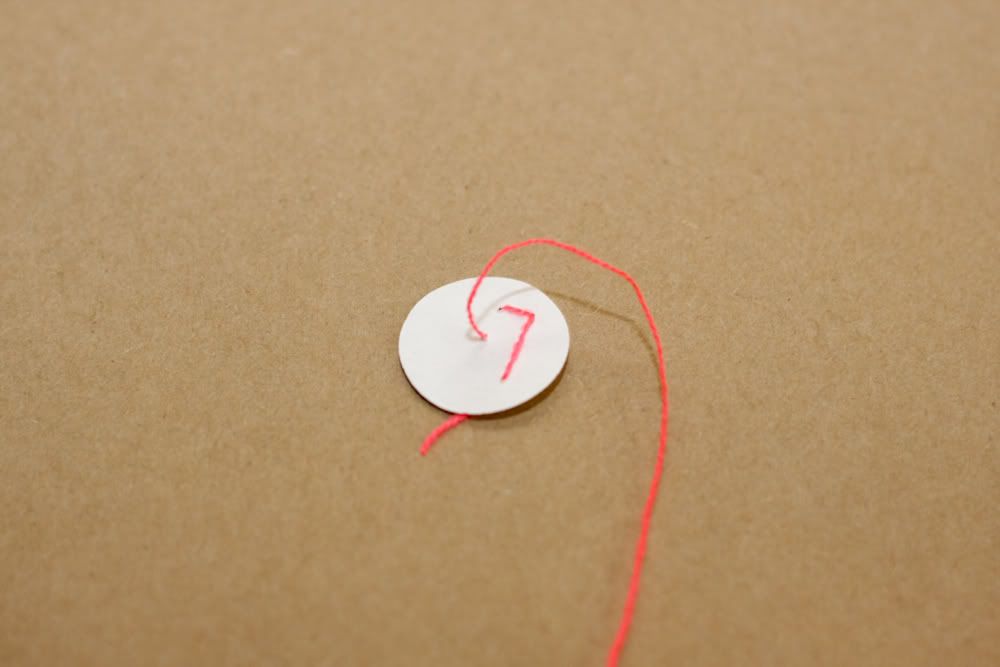
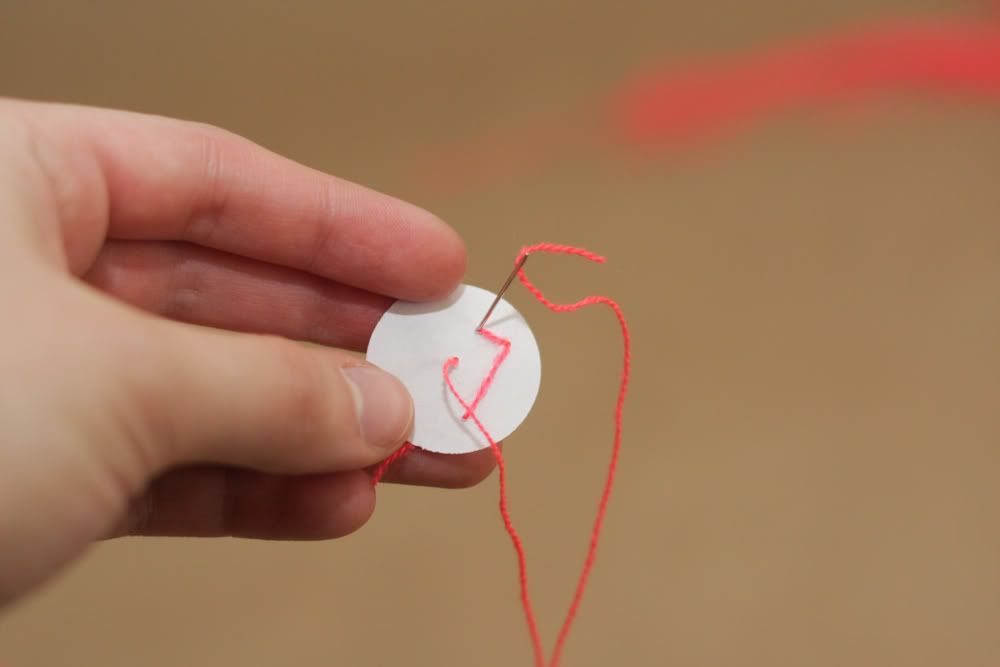
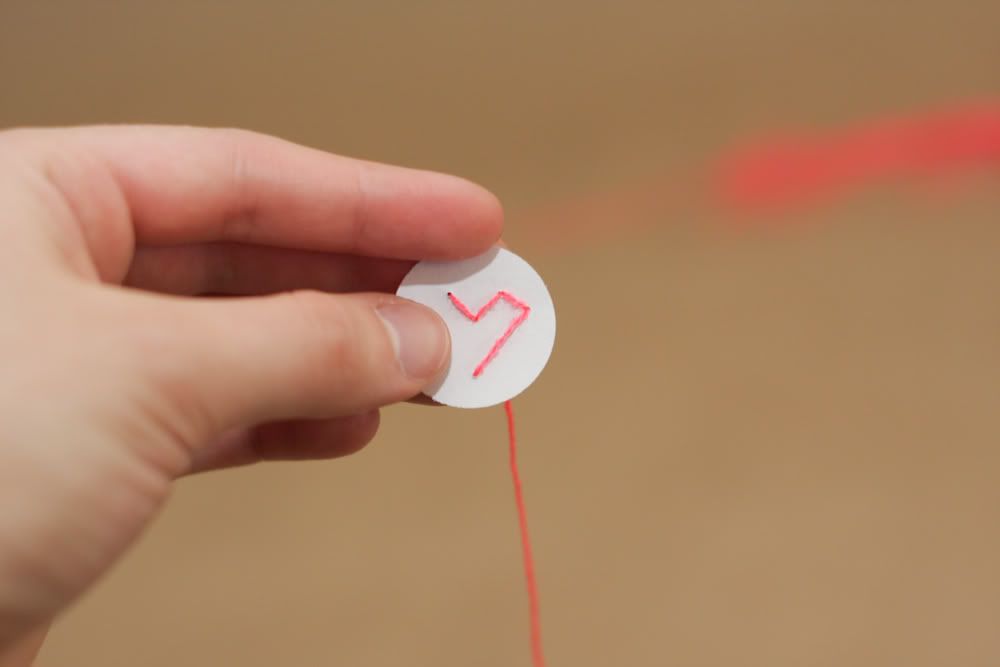
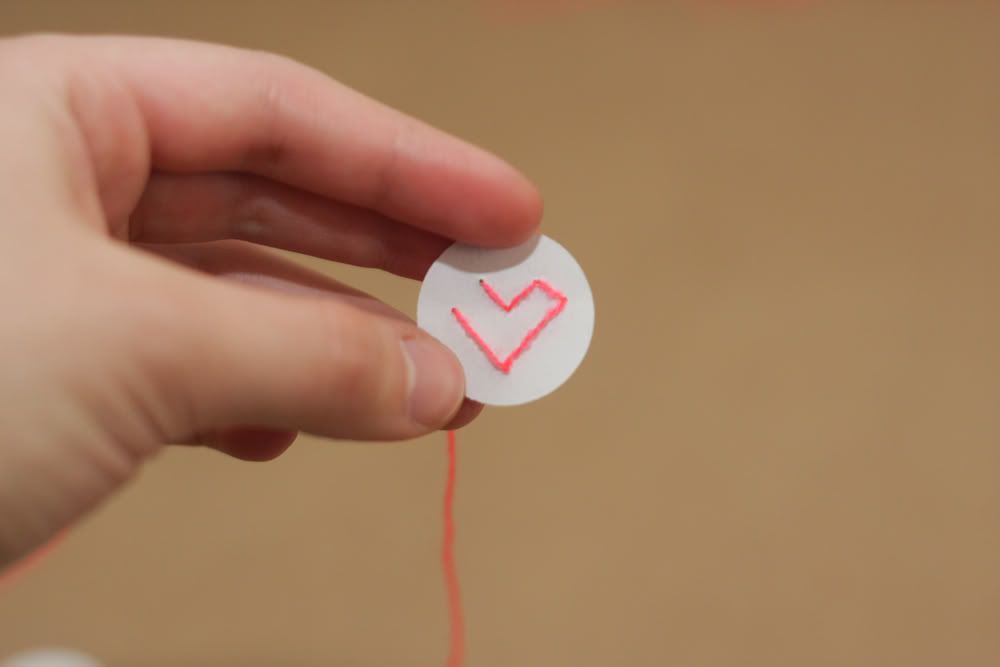
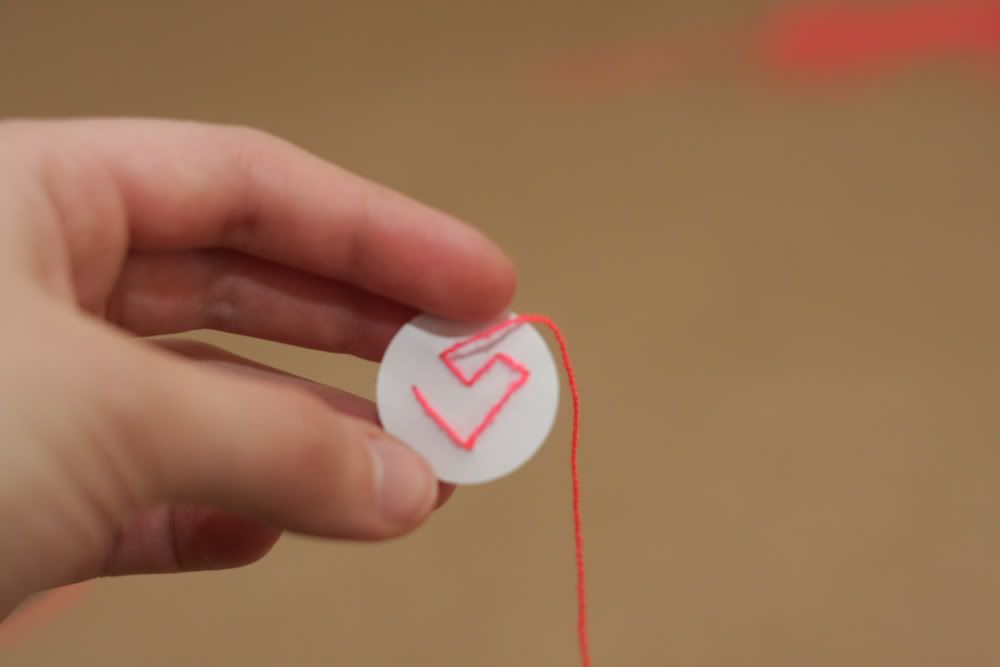
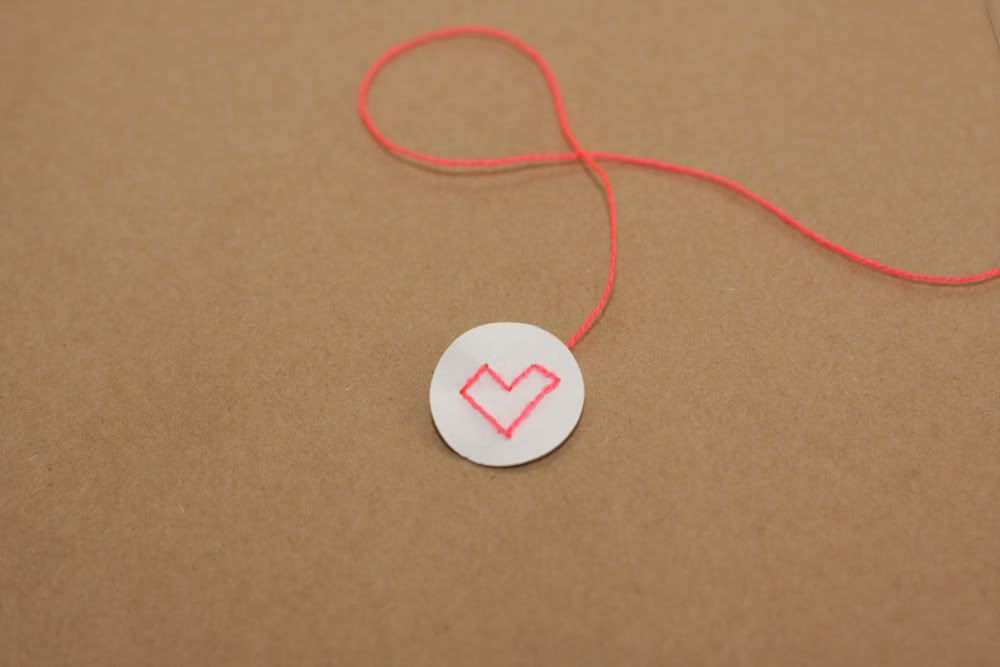
Step 3: Start making your heart on the bottom of your circle, and work your way counter clock wise, threading under instead of over first and then back over. Follow the photographs below until you have a completed heart. Make as many of these are you want, keeping in mind that you'll need two for each skewer.
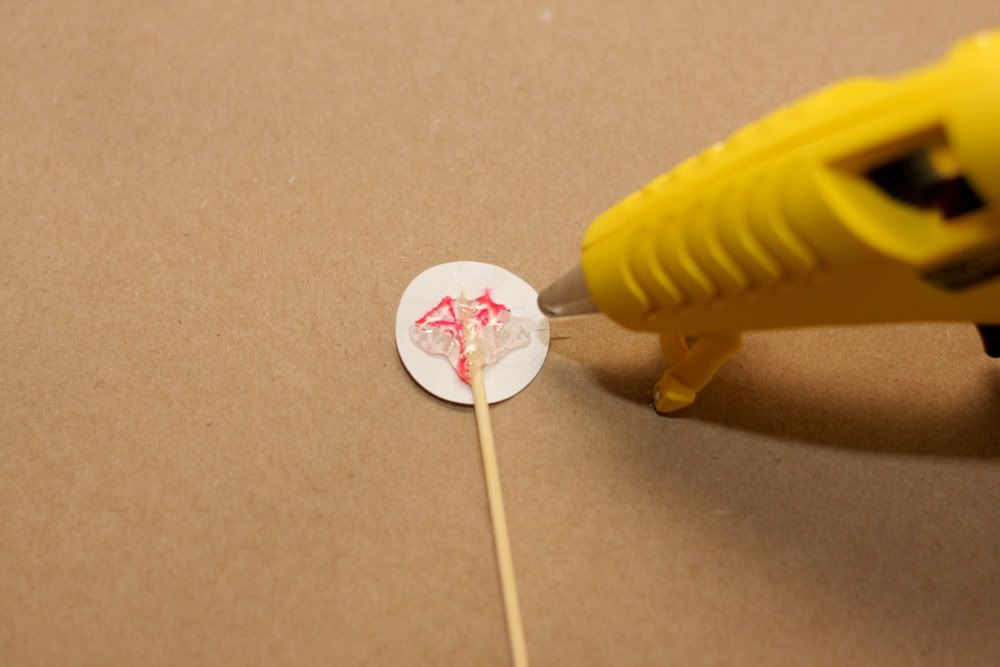
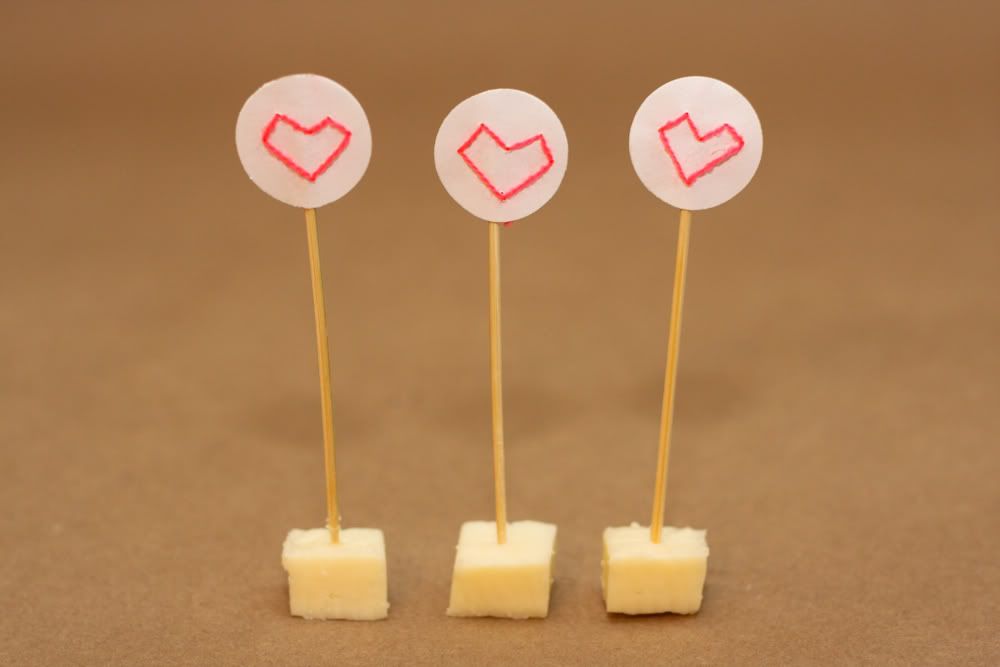
Step 4: Plug in your hot glue gun and wait for it to get super hot.
Step 5: Take two of your already finished heart circles and one of your skewers. Place one of your circles with the heart face down and place the skewer in the center of it. Apply hot glue on top the skewer so it flows onto the paper part as well. Take your second circle and put it over the first and the skewer and squish both together so the glue smears. Wait for the glue to dry and you're done!
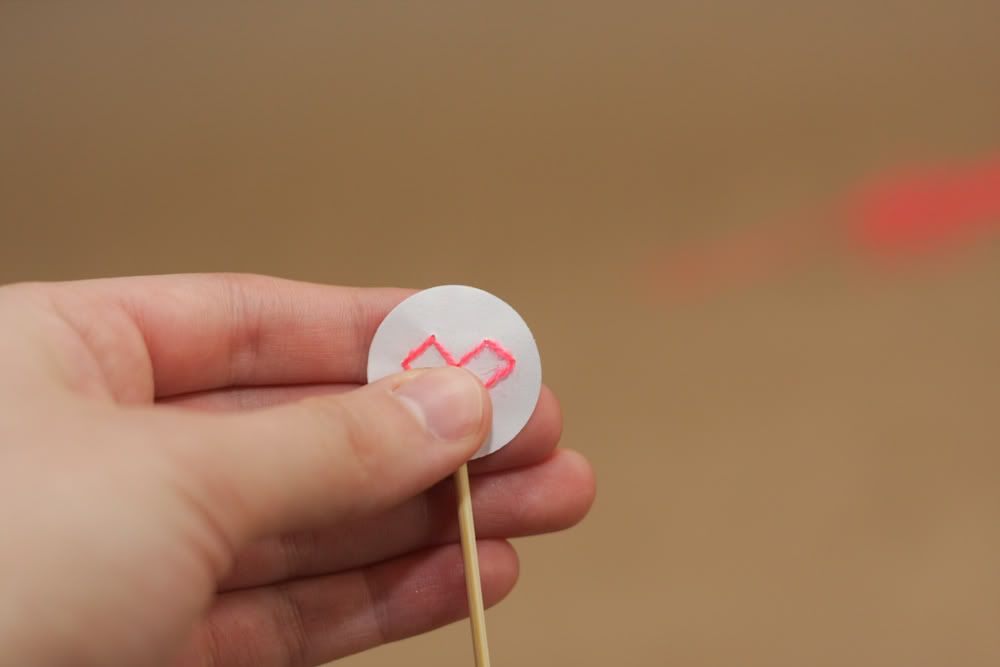
Step 6: Repeat until you have as many as you need or want.
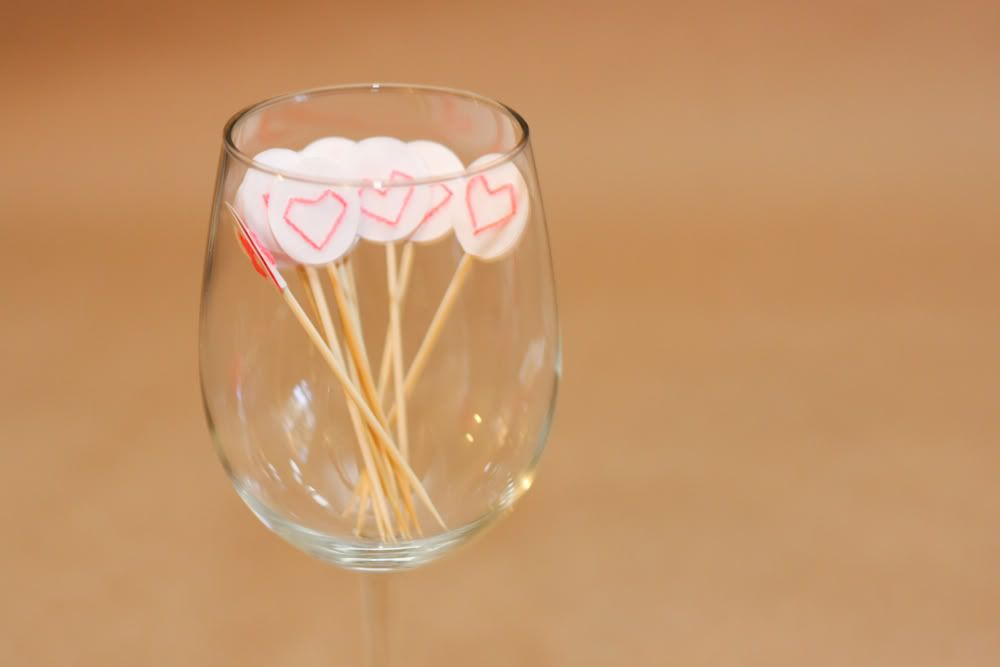
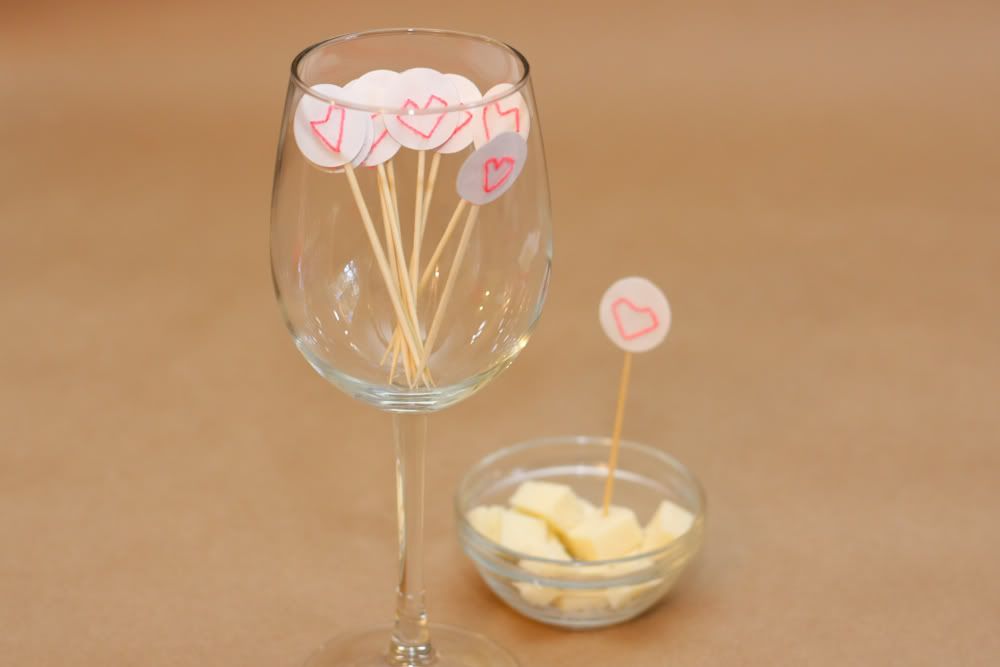
You can also make these using your initials or with plain, polka dot or sparkle paper. The options are endless, and the circle top skewers are great for a bridal shower, cocktail hour, and dessert table.