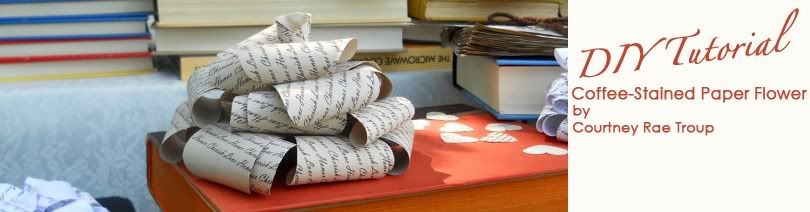
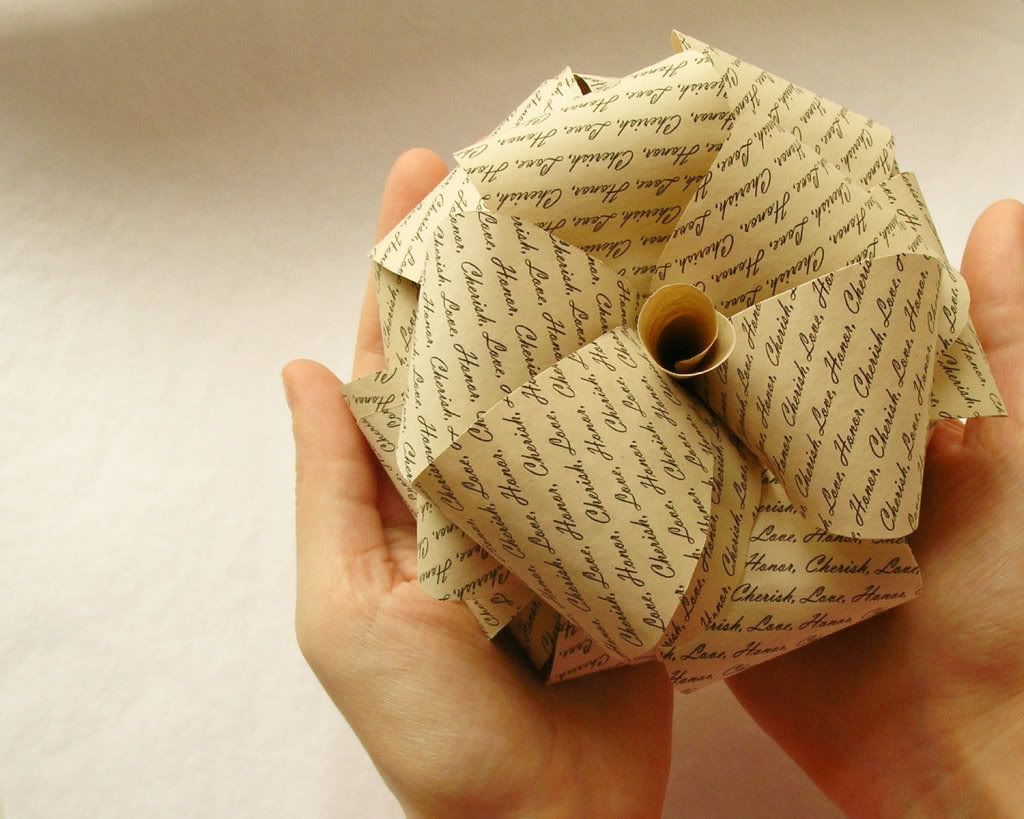
Today we have a coffee-stained paper flower DIY tutorial made exclusively for us by guest contributor Courtney Rae Troup of Book Craft on Etsy.com. These flowers are a beautiful addition to a rustic or vintage wedding, and can be added into centerpieces, attached to wreaths, and can even be used on top of favor boxes. A big thank you to Courtney for this wonderful tutorial!
What You'll Need:
Five sheets of 8.5”x11” paper
About two cups of coffee
A pan large enough to fit the paper
A printer
A pair of scissors
A pencil
A hot glue gun
A paintbrush with a handle no bigger than a pencil or something similar
You will also need the petal template and the quote print out provided below:
(click each for a larger image that you can download to your computer)


Directions:
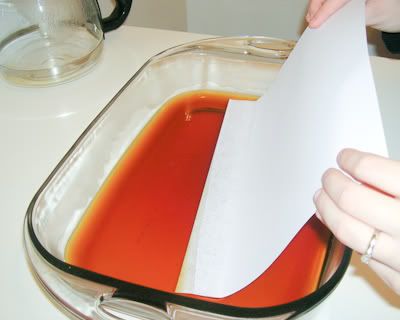
Step 1: Fill the pan with coffee then take a sheet of paper and dip about three inches of one side in it.
Step 2: Let it soak in the coffee for a minute or two before turning the paper to soak through the next side.
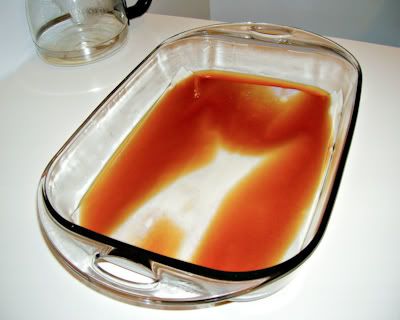
Step 3: After all four sides have soaked carefully submerge the rest of the paper into the coffee. Allow that piece to continue soaking while you repeat with the other four pieces. Let all five pieces soak for two hours.
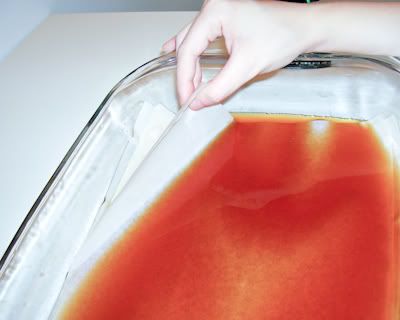
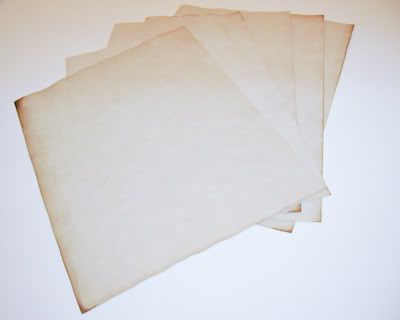
Step 4: Lay out some paper towels. Carefully remove each sheet and spread them out on top of the towels to dry.
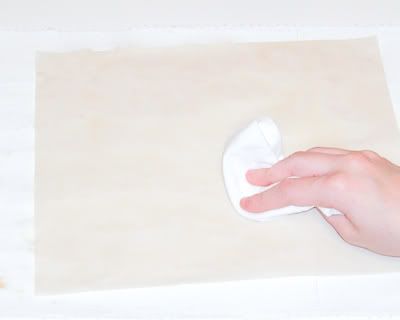
Step 5: Take another paper towel and pat each page to soak up some of the coffee, concentrating mainly in the center of the page, which will give the paper flower a nice deep color on the edge of its petals that will fade to a lighter color in the middle. The paper should take about an hour or two to dry.
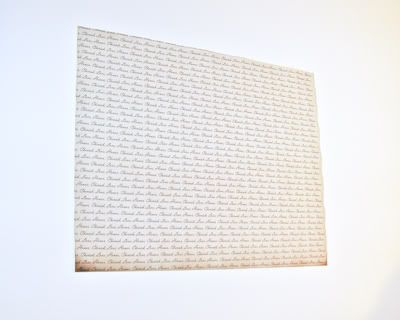
Step 6: Once completely dry, make sure the ends of the paper are relatively flat or you may get a paper jam when you try to print the quote. If they aren’t flat place a few heavy books on top of them for an hour or two. Print the quote image on one side of each sheet of paper. You can also print out your wedding logo or any other phrase you would like.
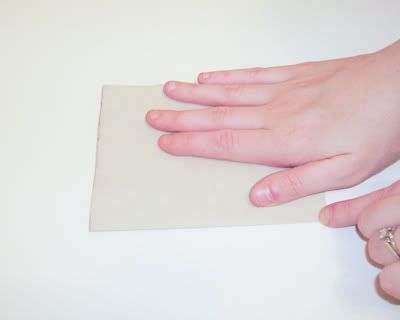
Step 7: Now take one sheet and fold it in half with the quote side facing in. Fold it in half again so you have a small rectangle.
Step 8: Now locate the corner of the rectangle where the paper folds, then fold the rectangle in half diagonally to make a triangle, making sure that the corner forms the tip. There should be about an inch of paper sticking out from the triangle. The “tip” is the corner that is not touching that extra paper.
Step 9: Now take the petal template and place it on the triangle so the corner of the petal lines up with the tip of the triangle. Trace the petal stopping about an inch above the tip. Then cut out the petal shape, again stopping about an inch away from the tip.
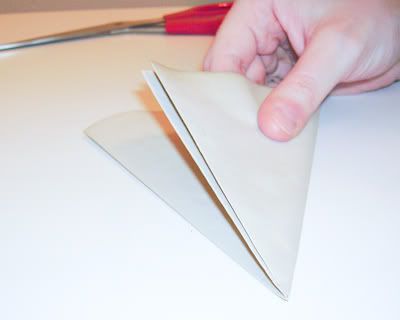
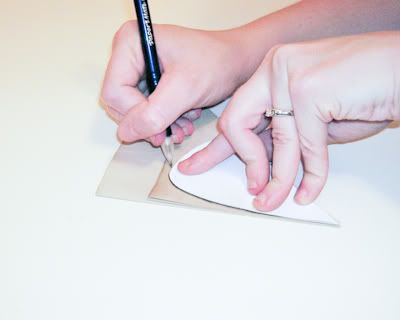
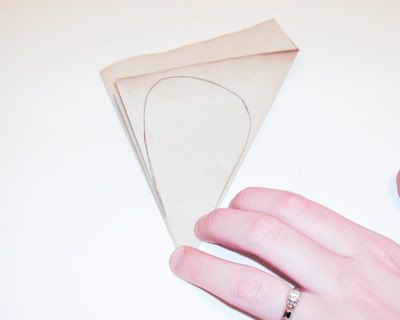
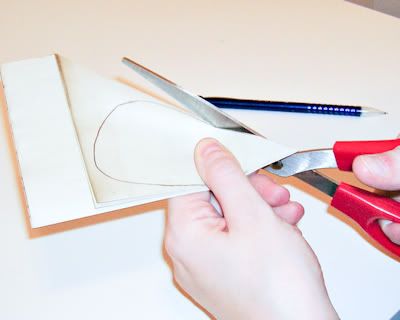
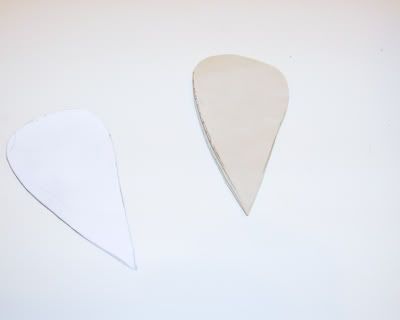
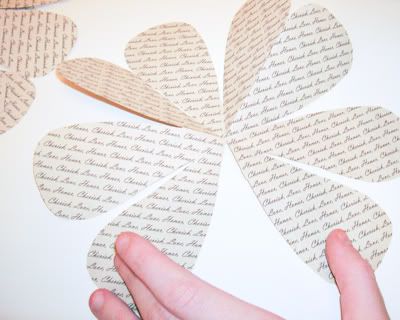
Step 10: Unfold the paper and you should have one large 2-dimensional flower. Examine the petals to make sure they are all about the same length. If not, extend the cut. Repeat steps 7 – 10 with the other four sheets.
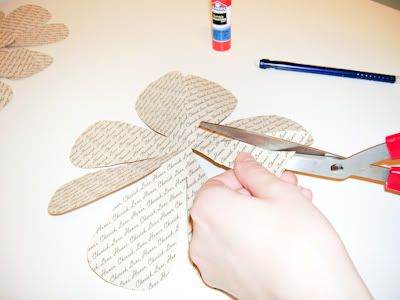
Step 11: Now, take one flower and extend the cut of one side of a petal all the way to the center as shown.
Step 12: Cut off the top and side of one of the petals on either side of the cut to create a tab.
Step 13: Using your glue stick cover the tab with glue, then take the petal on the other side of the cut and press it firmly on top of the tab until the glue dries. You now have the first layer of the flower.
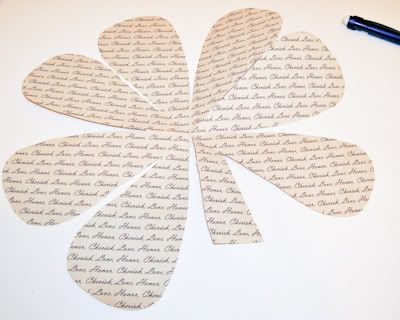
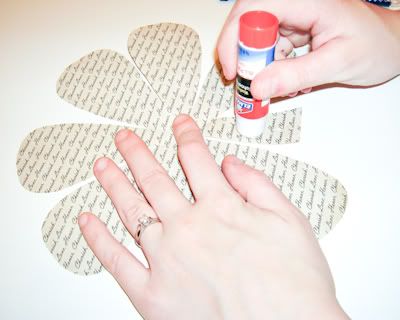
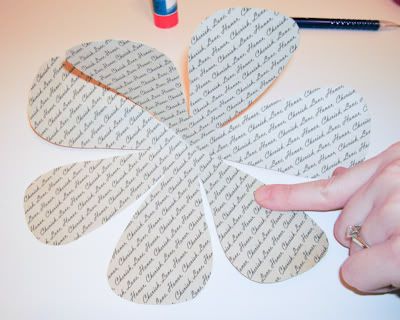
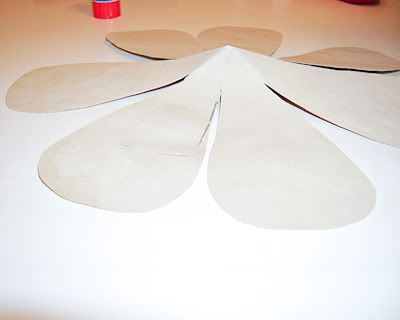
Step 14: Take the next 2-D flower and this time cut one entire petal out. Set the one petal aside and then repeat steps 12 and 13 on the rest.
Step 15: Take the next flower and cut out two petals, make sure these two petals stay connected to each other, and set them aside. Cut three out of the next one and set them aside. When you get to the last flower cut it in half, save one half. Repeat steps 12 and 13 on all except for the petals you set aside.
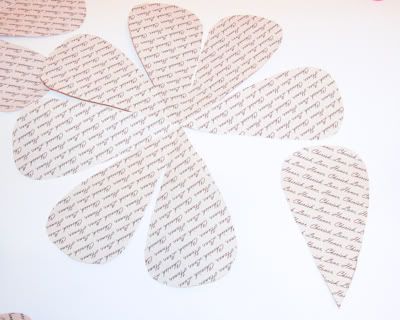
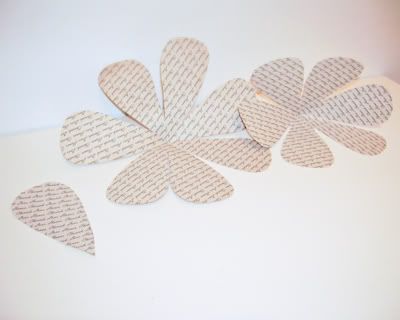
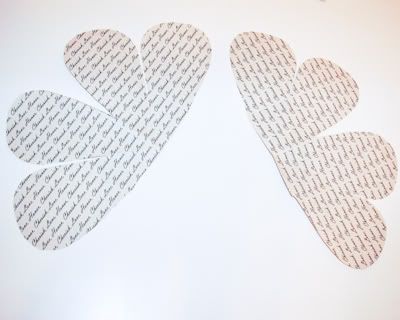
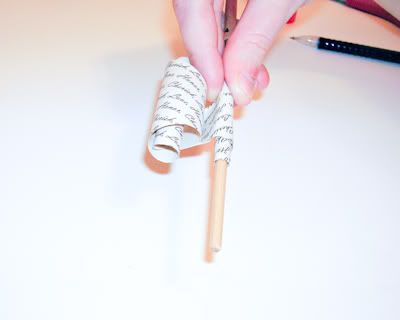
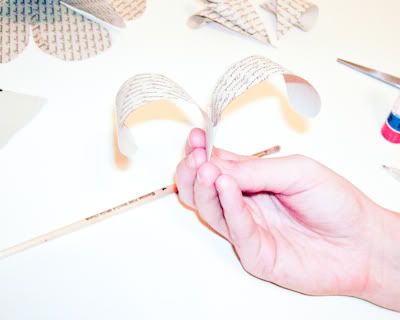
Step 16: Now, take that one petal and curl it with the paint brush handle, making sure the writing is facing out. Then uncurl it just a tad.
Step 17: Now for the tricky part: Take the two petals cut out and curl one of the petals. Beginning on one side at a slight angle, curl the petal towards the other petal making sure the writing is facing out. Don’t uncurl this part at all; make sure it stays in a nice little tube. Then curl the other petal the same way as step 16. Carefully fold that petal around the tube like petal; press and crease just the end. Then unfold part of the way, add some glue, fold back, and press firmly until the glue dries.
Step 18: Now take the three petal cut out. Repeat steps 12 and 13 on it. Then curl both petals like in step 16. Repeat step 16 on the rest of the flower’s layers.
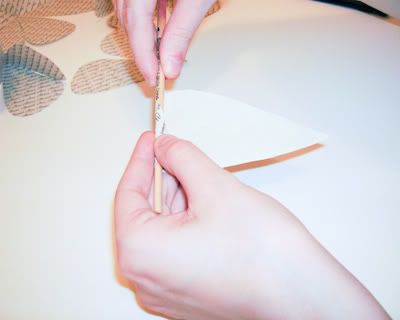
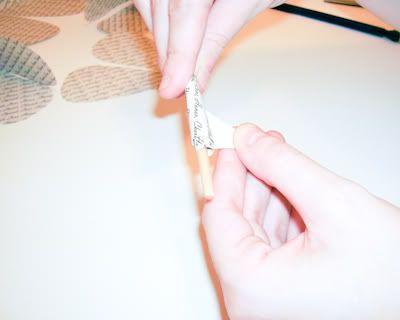
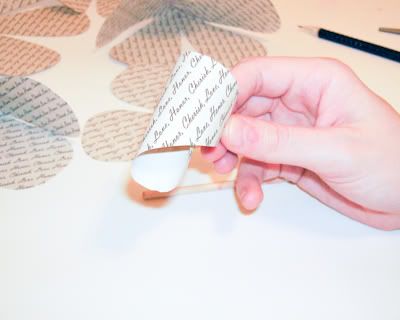
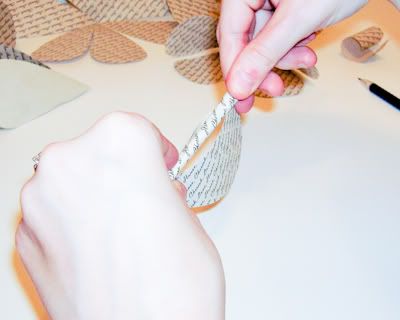
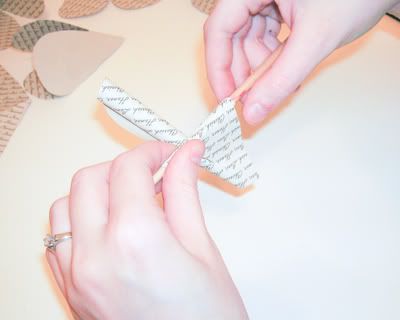
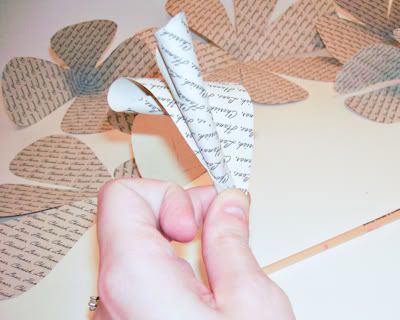
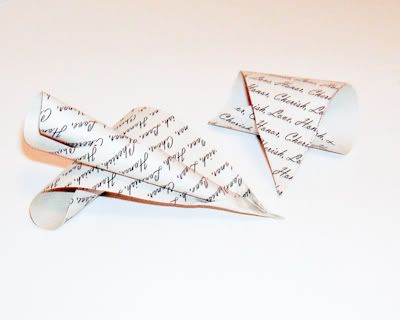
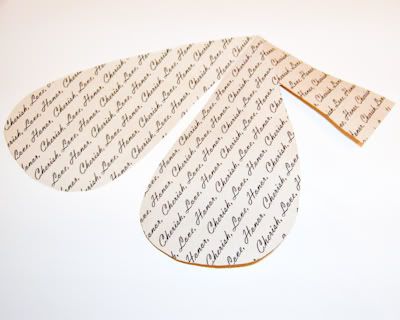
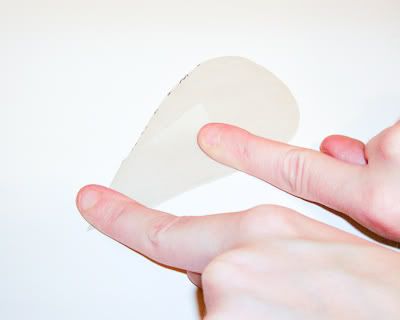
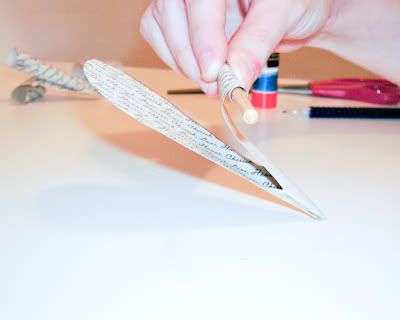
Step 19: Now take the largest flower layer (7 petals) and using your glue gun, place some glue in the center. Then carefully add the next biggest layer (6 petals) on top, arranging it so that the six petals cover up as many of the spaces between the petals. Use the tip of the paint brush handle to press down in the center until the glue dries. Then repeat with the rest until you reach the layer with three petals.
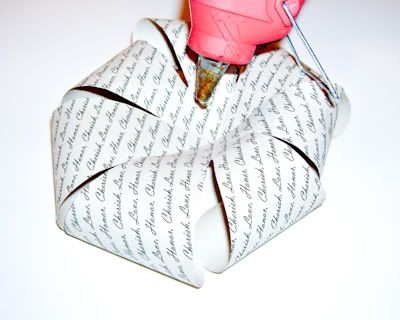
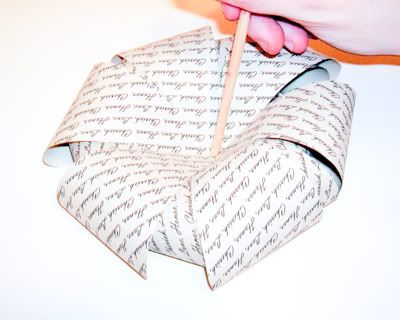
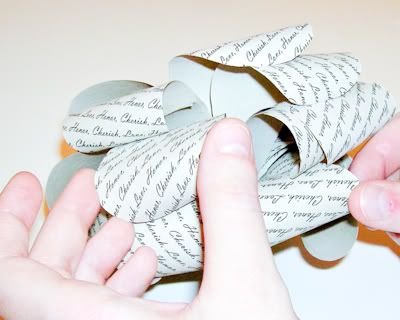
Step 20: Once you have glued in the layer with three petals and it has dried, start pulling apart the petals that have overlapped and re-curl or uncurl as needed.
Step 21: Once the petals look about the way you want them to, glue in the layer with two petals.
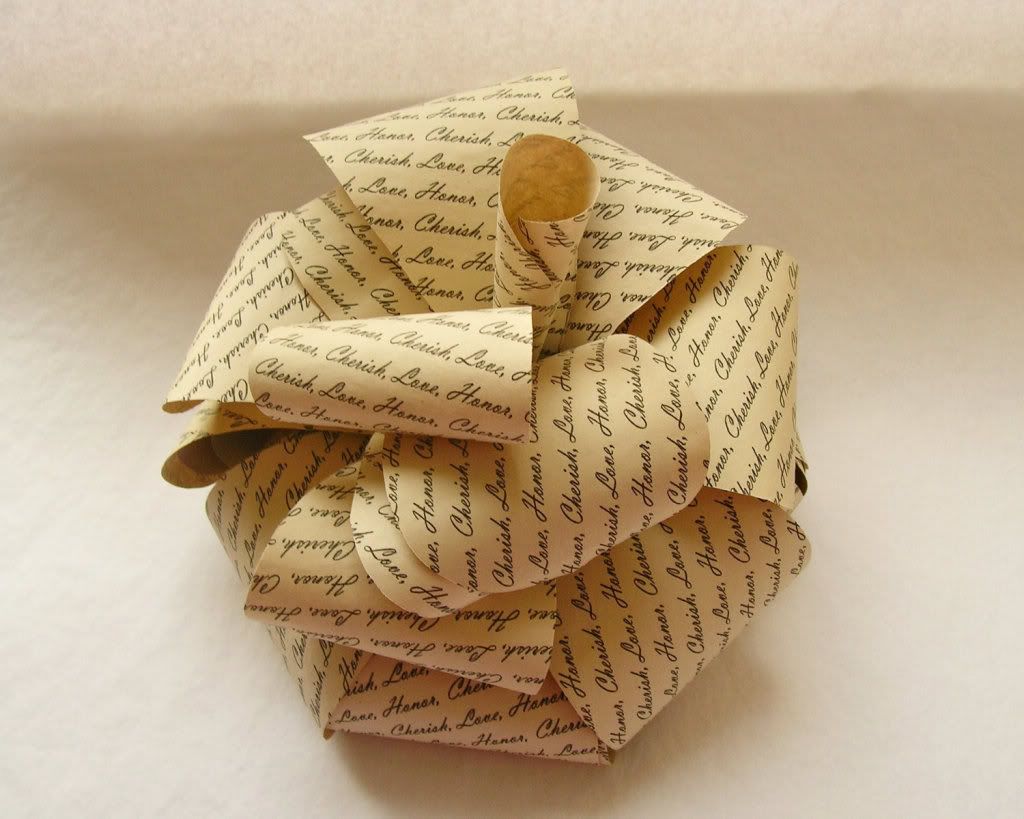
Step 22: Add in the center layer (the one with the tube-like petal), push down as firmly as you can without smashing the center and before the glue dries all the way look for a spot on top that looks like it needs an extra petal and gently place the last petal there. Set the flower aside to finish drying and… You’re done!
p.s. For a chance to win one of Courtney's paper flowers, enter our launch bulk giveaway here!

Unique Wedding Favors

Tuesday, January 3, 2012
DIY Wedding Tutorial #1


Monday, January 2, 2012
Around the Web: Wedding Save the Dates
Are you searching for a save the date idea? I saw this stop motion photography save the date almost a year ago and it is still my overall favorite wedding idea I've found on the web. It was made by Terryn and Jon Button. It's super cute and truly shows their adventurous personality as a couple. If you have the time, why not opt for a similar, and very much handmade, save the date?
Terryn and Jon Save the Date from Jon Button on Vimeo.
Some of our other favorite save the date ideas from around the web...
Film rolls for a photog wedding.
Records.
Take flight with a plane save the date.
Thumb print announcements.
A save the date scratcher card.
Use balloons as number props in a photograph.
Admit two vintage tickets.
Match books.
Inspiration Board #1: Barn Wedding
For me, there is such a romantic feeling from a rustic barn wedding that for our very first inspiration board, I had to follow that theme! Hints of brown, gold, and white are a perfect color combination for a classic feel.

Photo credits from left to right: bride, white and gold wedding cake, bulb-lights décor, paper flower wreath, homemade jam favors jars.
Sunday, January 1, 2012
Real Weddings: Sam + Wade
For our very first real wedding feature, we have a lovely wedding photographed at The Cedars, a venue in Mooresville, Alabama, by the talented gals at Simply Bloom Photography. Thank you to Christine and Vania for sharing this wedding with us!
From Us: Sam and Wade's wedding was characterized by a mix of styles that were ultimately connected by a vintage theme. We loved the wedding immediately. Every detail was not only thoroughly thought out and executed beautifully, but they are so many details that inspire a plethora of handmade ideas for weddings within all types of themes.
Some of our favorite details included Sam's bridesmaids braided hair styles inspired from Pinterest, her button bouquet, and sparkly pink heels. We adore Wade's unique sock choice as well as his groom's cake. We also loved their tree guest book, wild flower and glass bottle centerpieces, and their vintage style venue. What attracted us to share this wedding with you during our first feature the most though, was just how happy they looked throughout their wedding day.
From The Bride: There were tunes all around! The grandparents and parents were seated to Johnny Cash’s “I Walk the Line”, the wedding party walked down the aisle to “Marry Me” by Train, Sam walked down the aisle to “At Last” by Etta James and both her and Wade exited to “Swing to the Rhythm of Love” by Plain White T’s.
Total, our décor ended up costing around $9k. Then, came the favors! In the end, we decided on several small things for guests that were placed randomly around the wedding reception. At the bar, we had koozies monogrammed with our “H” on one side. The other side said “to have, to hold, to keep your drink cold.” I also put candy in canning jars and covered the lids with fabric. The jars had stickers on them, one side with our “H” monogram, the other with “LOVE IS SWEET”. Total, favors ran about $500.


Vendor Information: Photography: Simply Bloom / Venue: The Cedars, 1859 / Catering, flowers, and decorations: Dee Green of Limestone Bay Trading Co. in Mooresville, Alabama / Bride + groom’s cakes: Bob Johnson of Couture Cakes / Invitation design: Bride / Letterpress for Invites: Triple S Letterpress in Huntsville, Alabama / Band: The Flashbacks / Hair + makeup: Jana Brooks of Bangs Salon in Harvest, Alabama / Photobooth: Music by Mike / Bride’s dress: Badgley Mischka purchased from Rue La La/ Shoes: Christian Louboutins / Necklace: Kate Spade / Groom suit: Lands’ End / Shirt: JCrew / Bowtie: Wickham House
Our First Giveaway!

We are thrilled to be able to offer a handful of wonderful bridal goodies for our first giveaway including a coffee stained paper flower by Courtney Rae Troup, a nature inspired bridal headband in purple and white by Danielle Sandavol, and a "bride" dress hanger by Luis Serrano.
For a chance to win, you must become a blog follower and visit Book Craft, Three Little Birds, and Einspanner, then leave a comment telling us what you remember the most about your first date with your future spouse. Please also include your wedding date if one has been set, and your email address so we can notify you if you win!
Our launch giveaway will be open until Sunday, January 15. A winner will be chosen at random the next day. Good luck!
UPDATE: Congrats to Amber for being our bulk giveaway winner! :]
Year One

Happy new years! We are so stoked to officially launch The Handmade Wedding! We have lots of great content lined up for our opening week including our first real wedding and bulk giveaway that will both be posted a little later today. We have our first DIY tutorial and photography segment by guest writers, and also several inspiration boards.
To our contributors, thank you so much for helping us during our pre-launch process!
To our readers, we truly hope to inspire you and help you achieve wedding day handmade magic throughout the year. We will be working hard to help make planning your big day a little easier and more adventurously handmade.
